Page 1 of 1
UPDATE: air filters replaced, tips and photos within
Posted: Thu Aug 03, 2023 11:00 am
by FLCAYMAN
Today I successfully replaced the engine air filters on my CGTS4.0.
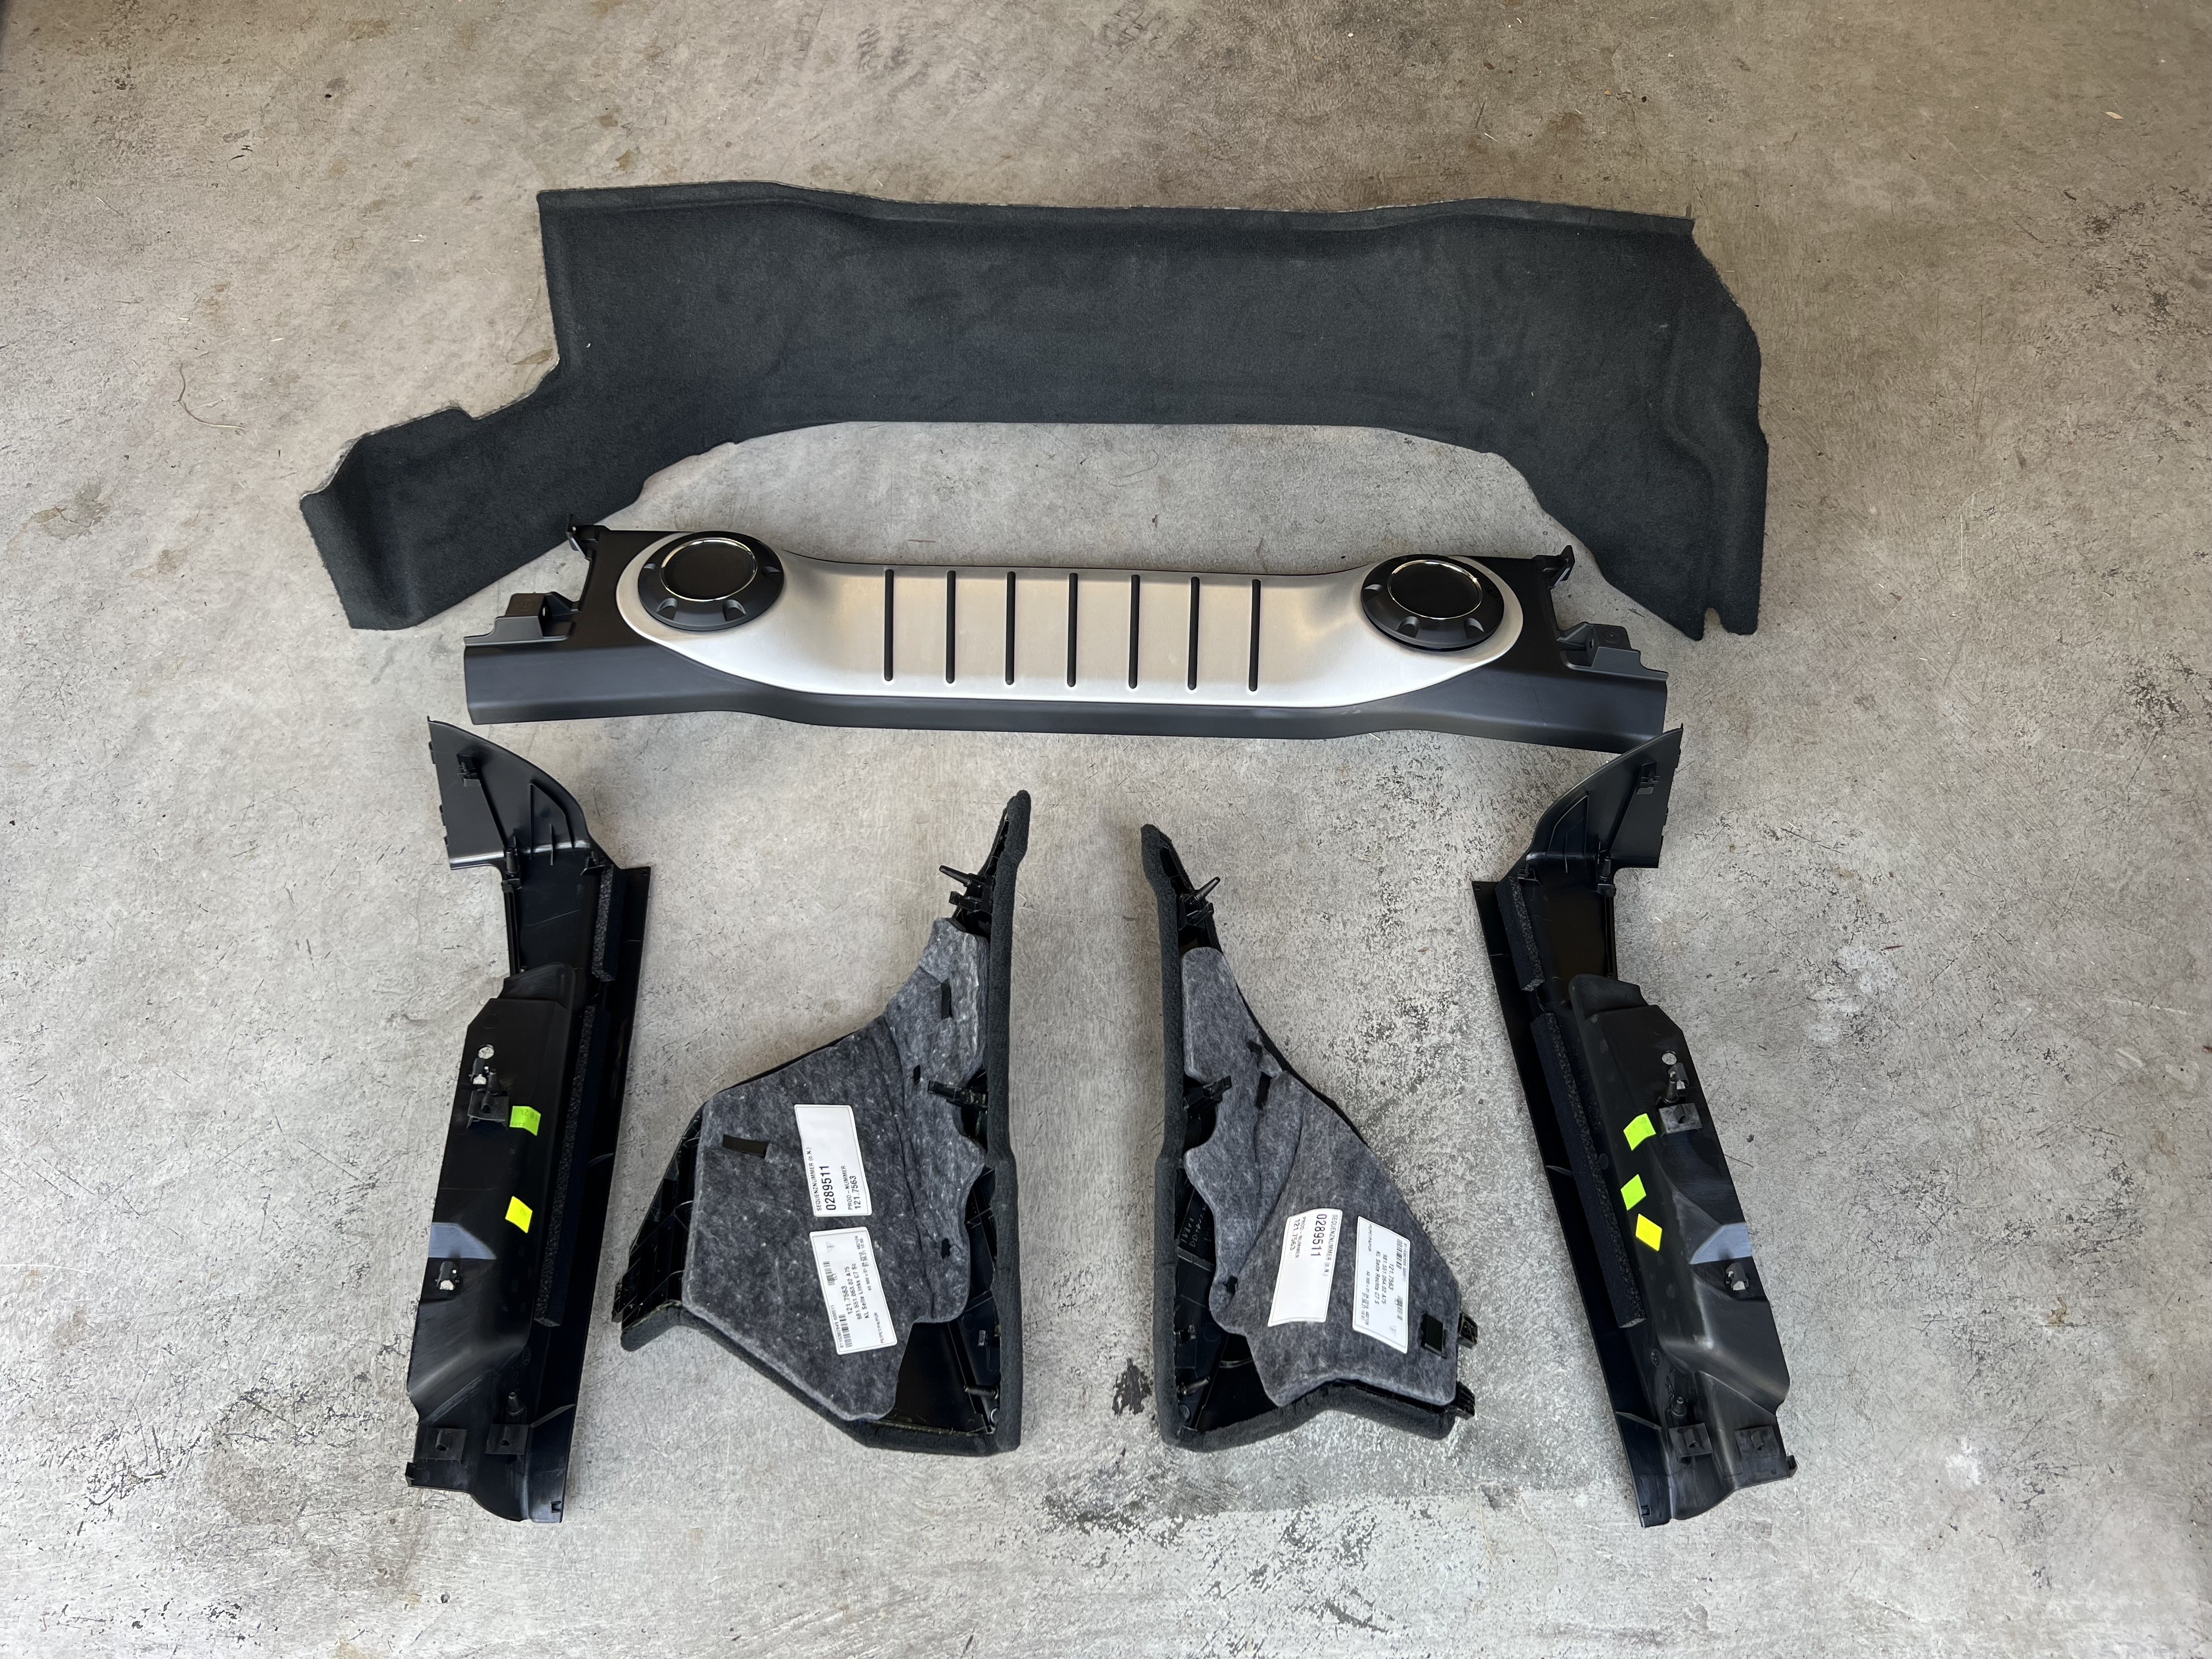
First, some disassembly photos. 6 trim pieces need to come out.
- FullSizeRender.jpeg (4.25 MiB) Viewed 1621 times
- IMG_2115.jpeg (3.18 MiB) Viewed 1621 times
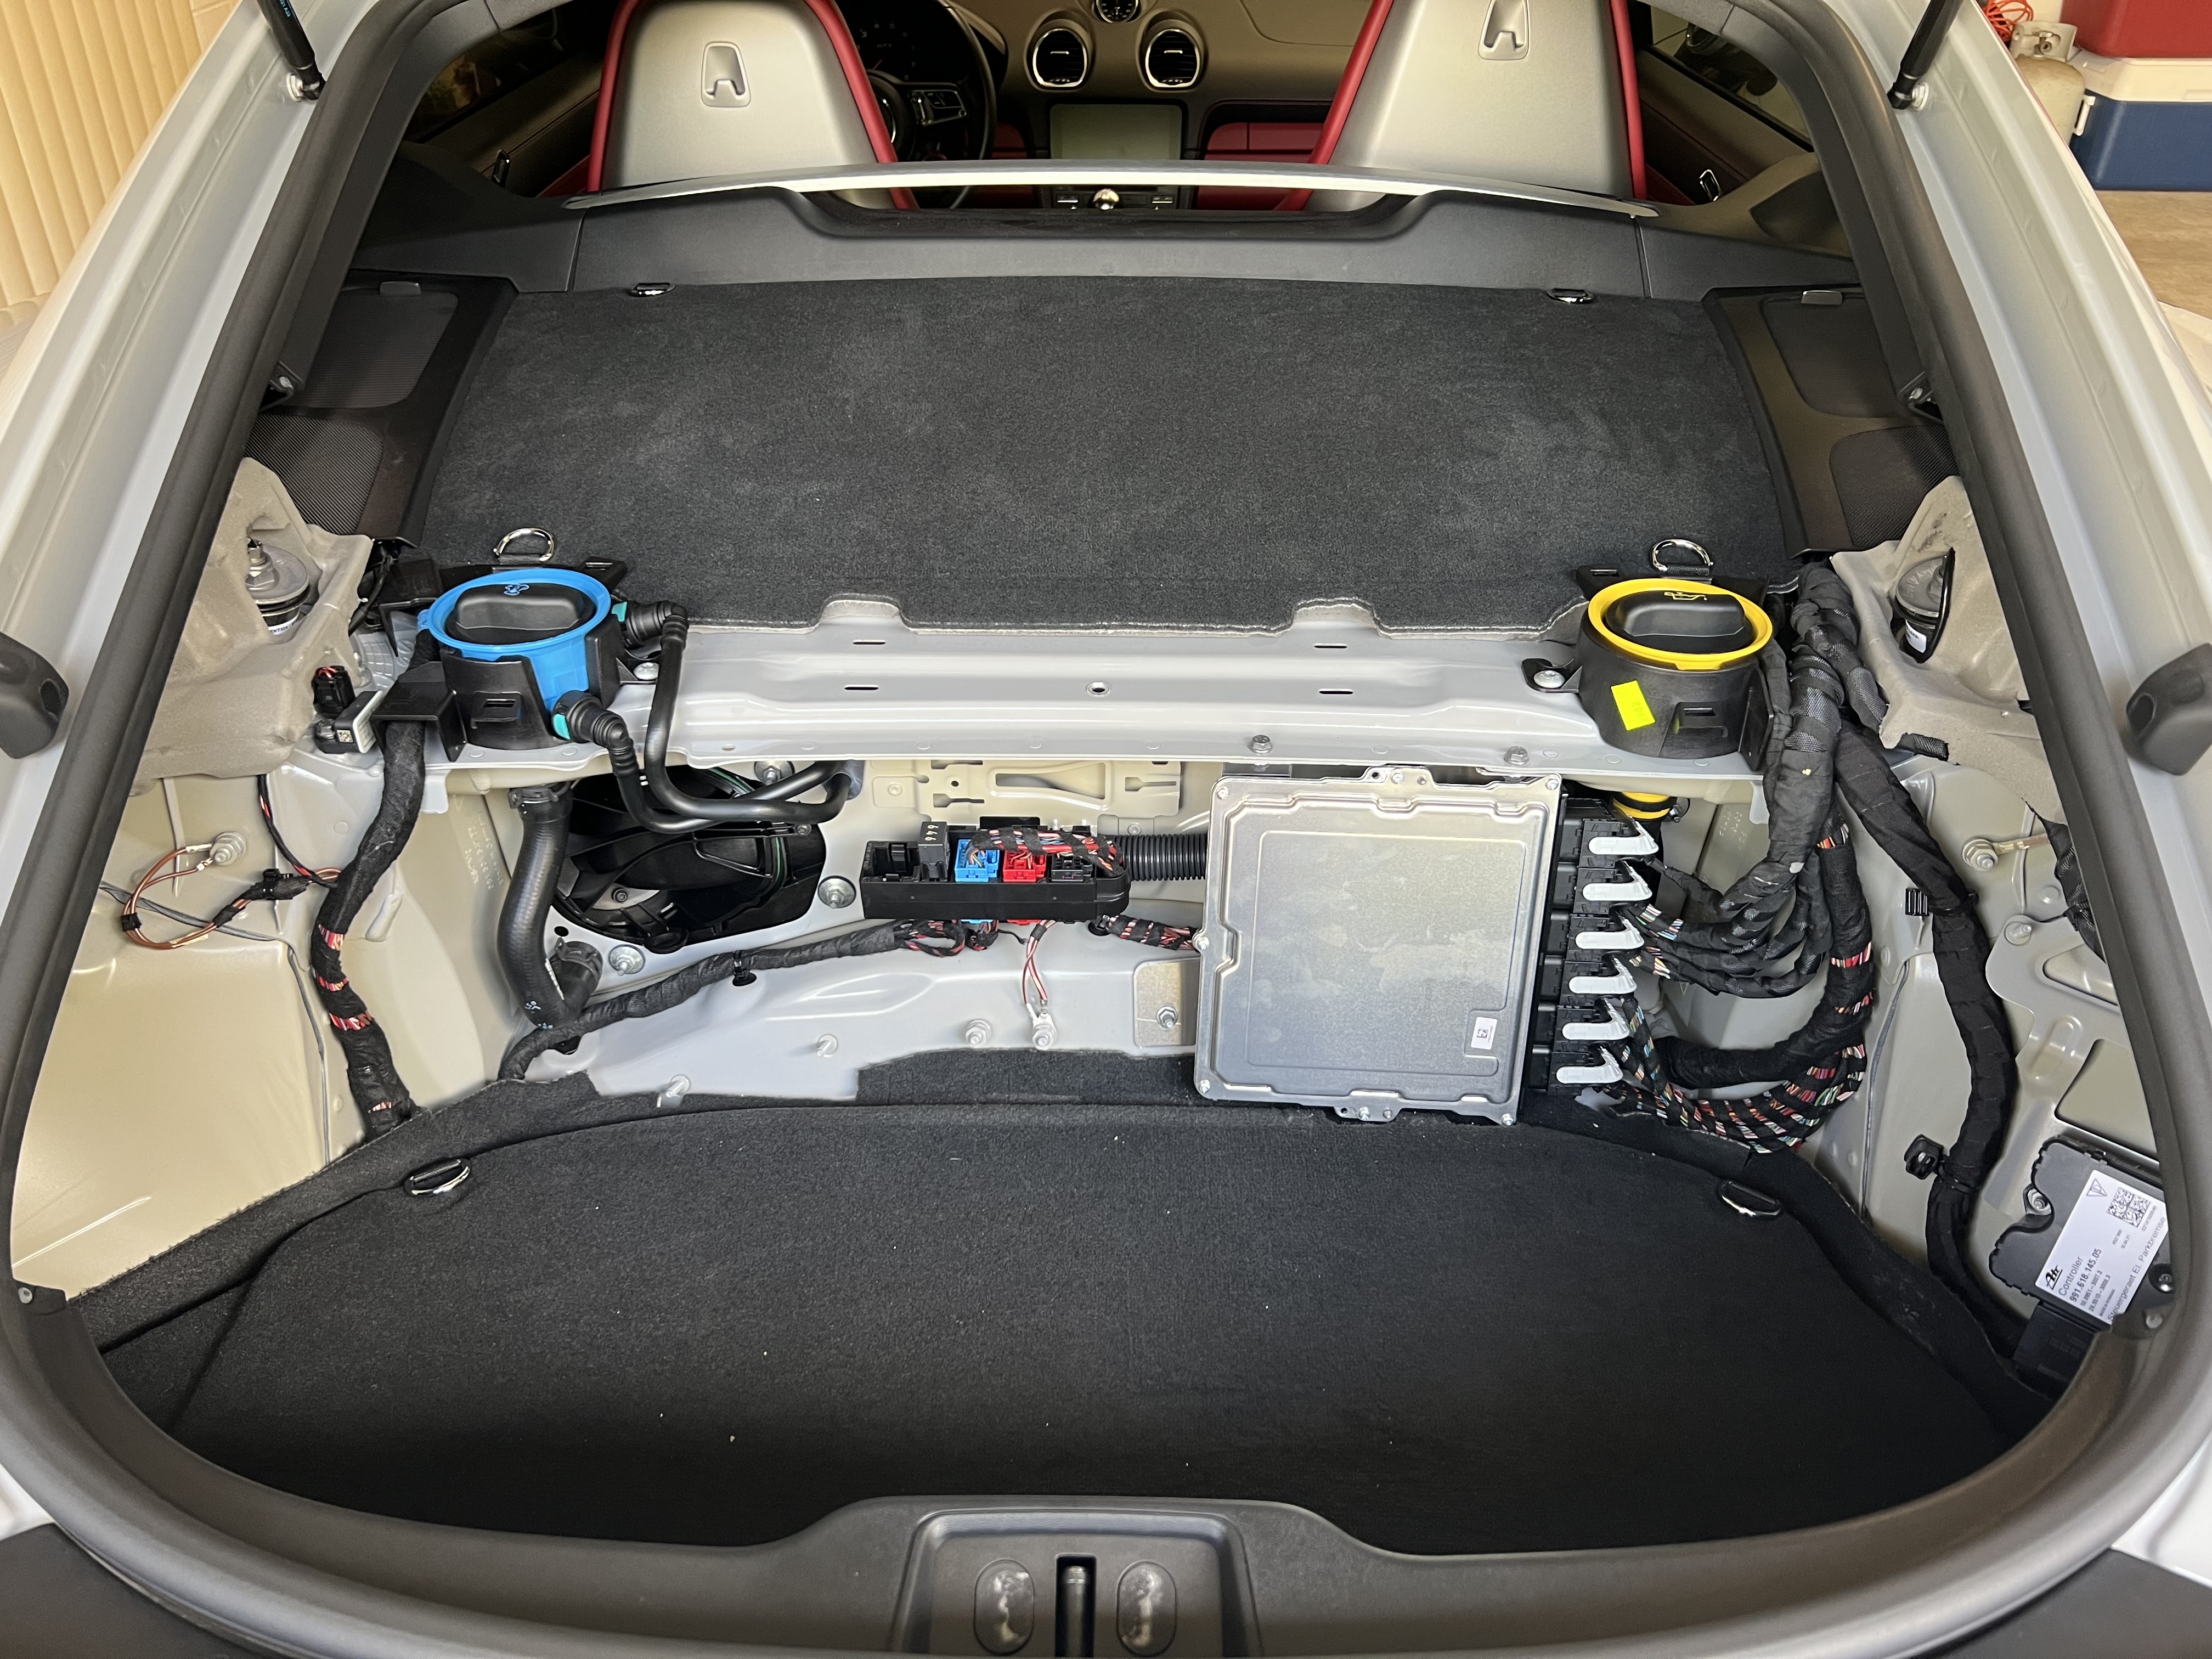
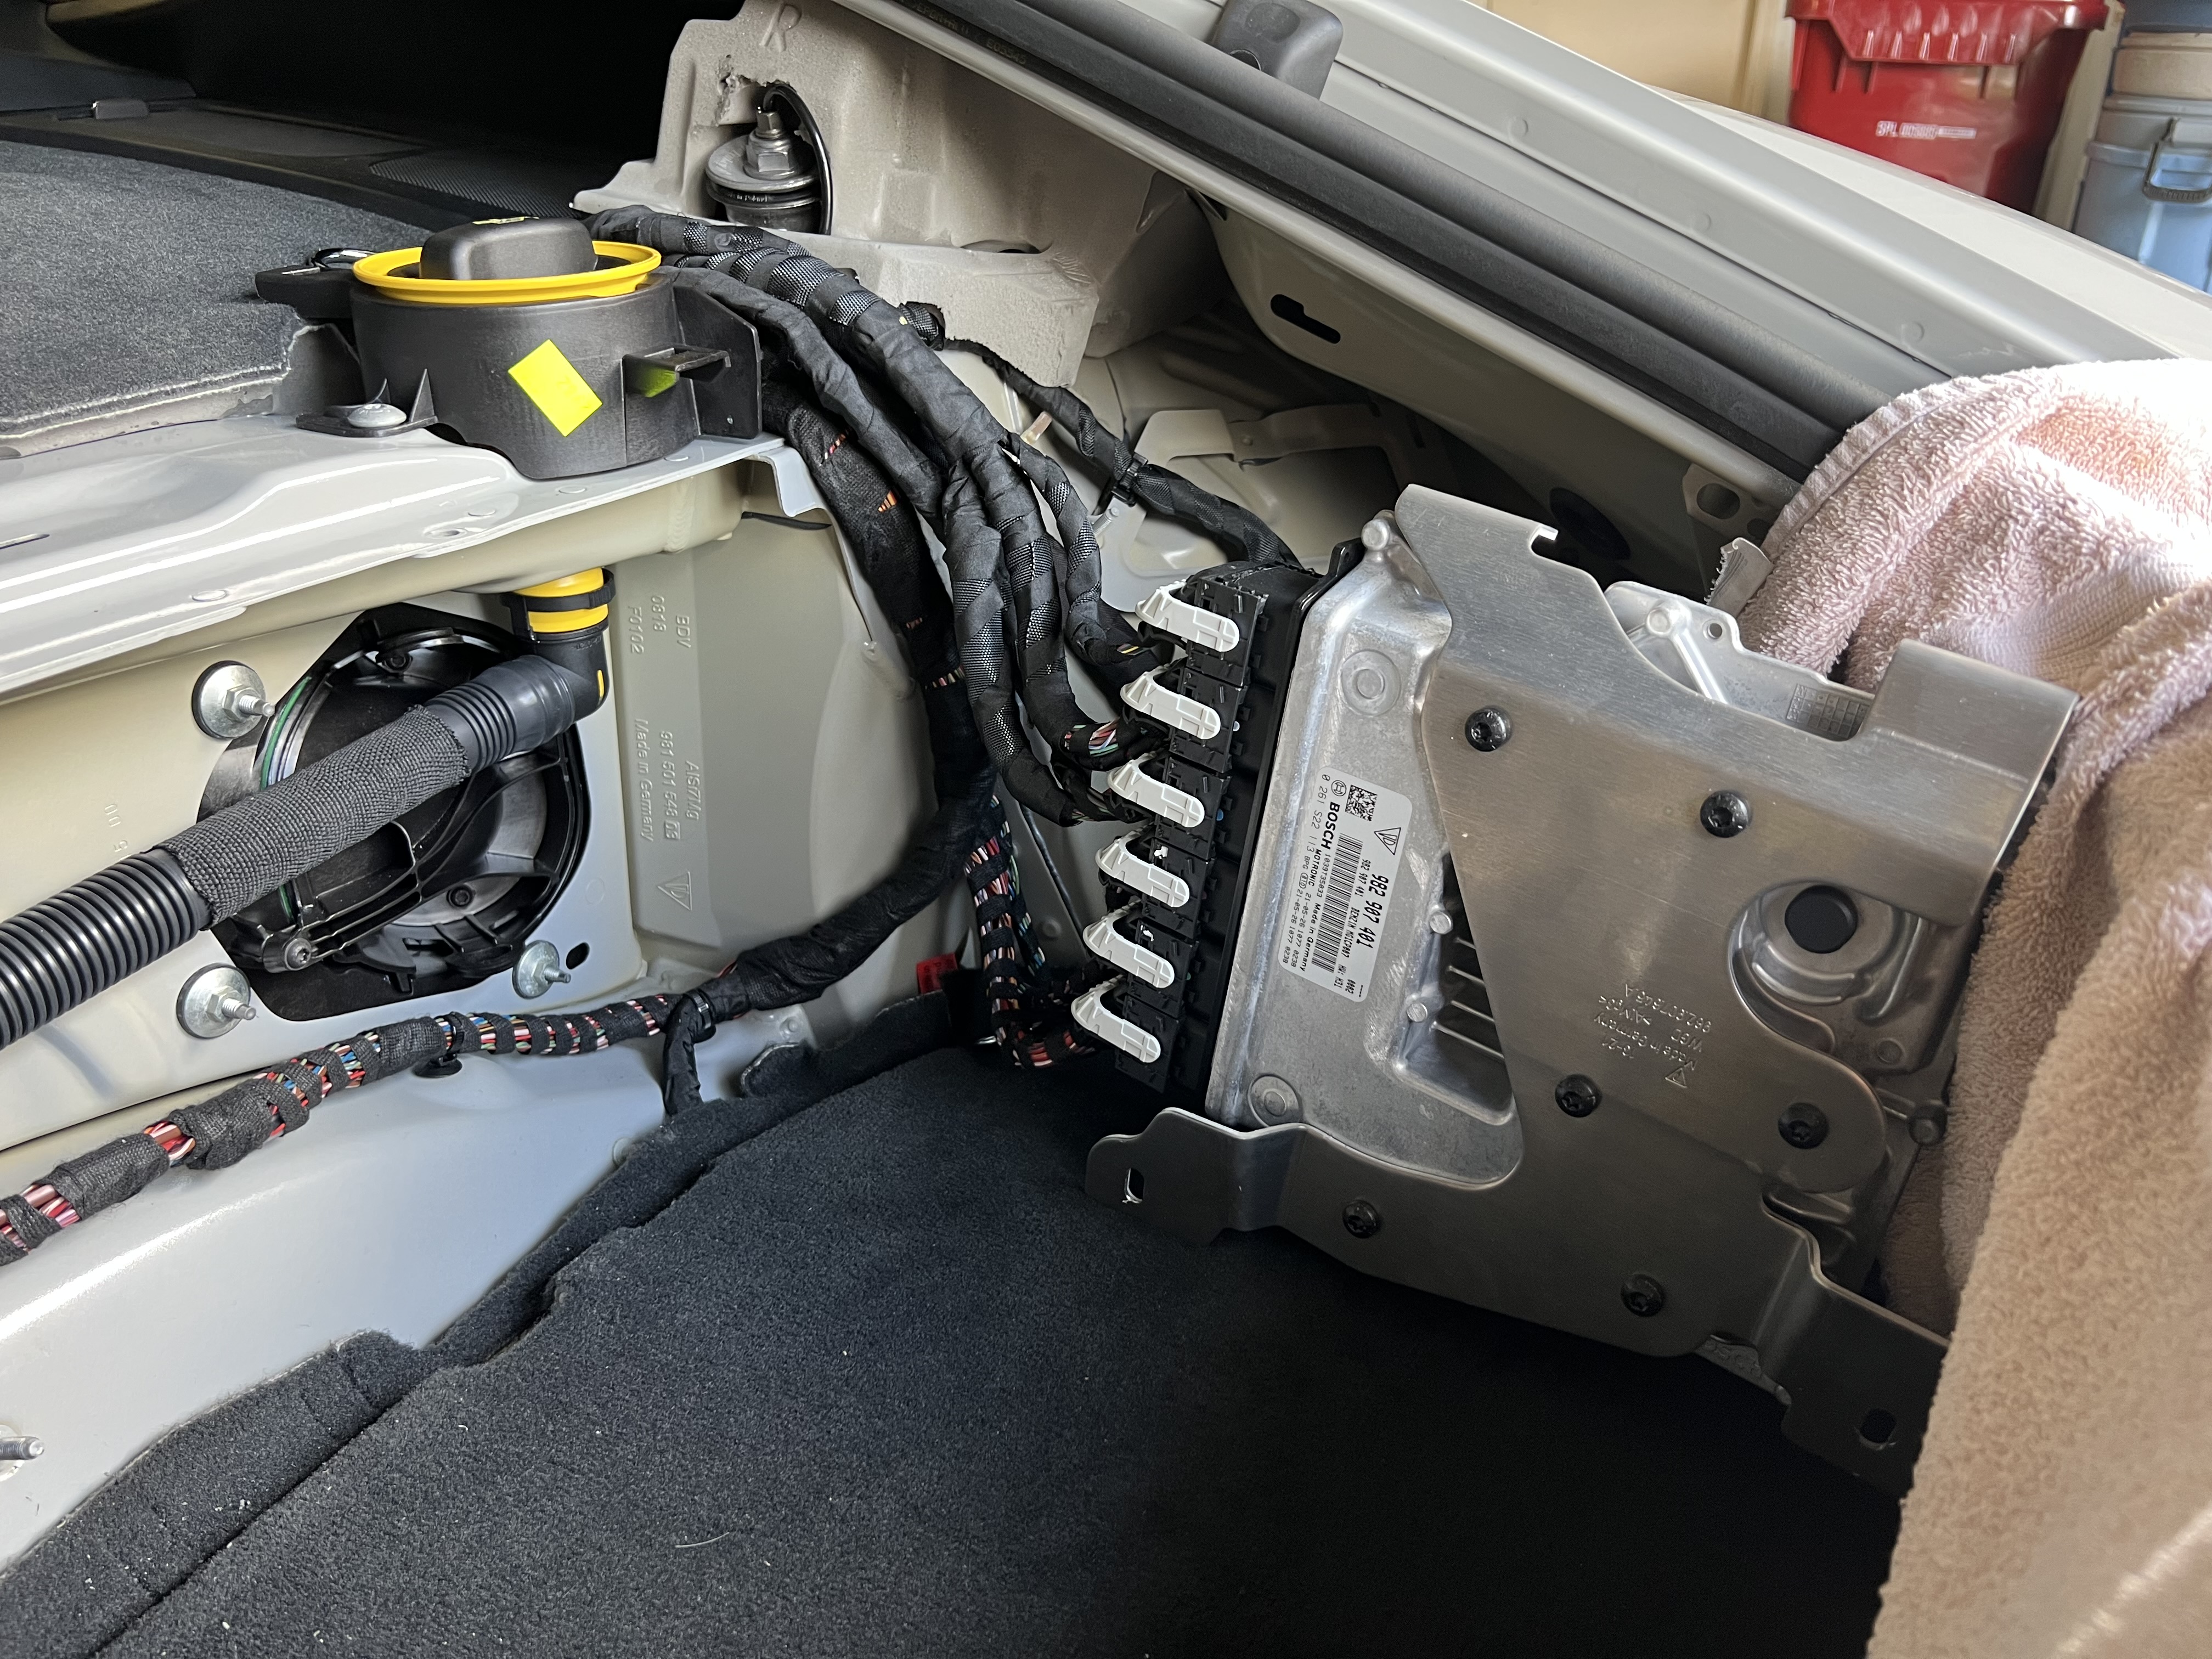
ECU dismounted and placed to the side. Note that the lower mount points are different from the widely viewed YouTube video of the 981 GT4. On my car the lower mounts are nuts on rather large posts. The 10mm socket I had was not quite deep enough to accommodate the posts, but I managed.
- IMG_2121.jpeg (3.2 MiB) Viewed 1621 times
- IMG_2128.jpeg (1017.53 KiB) Viewed 1621 times
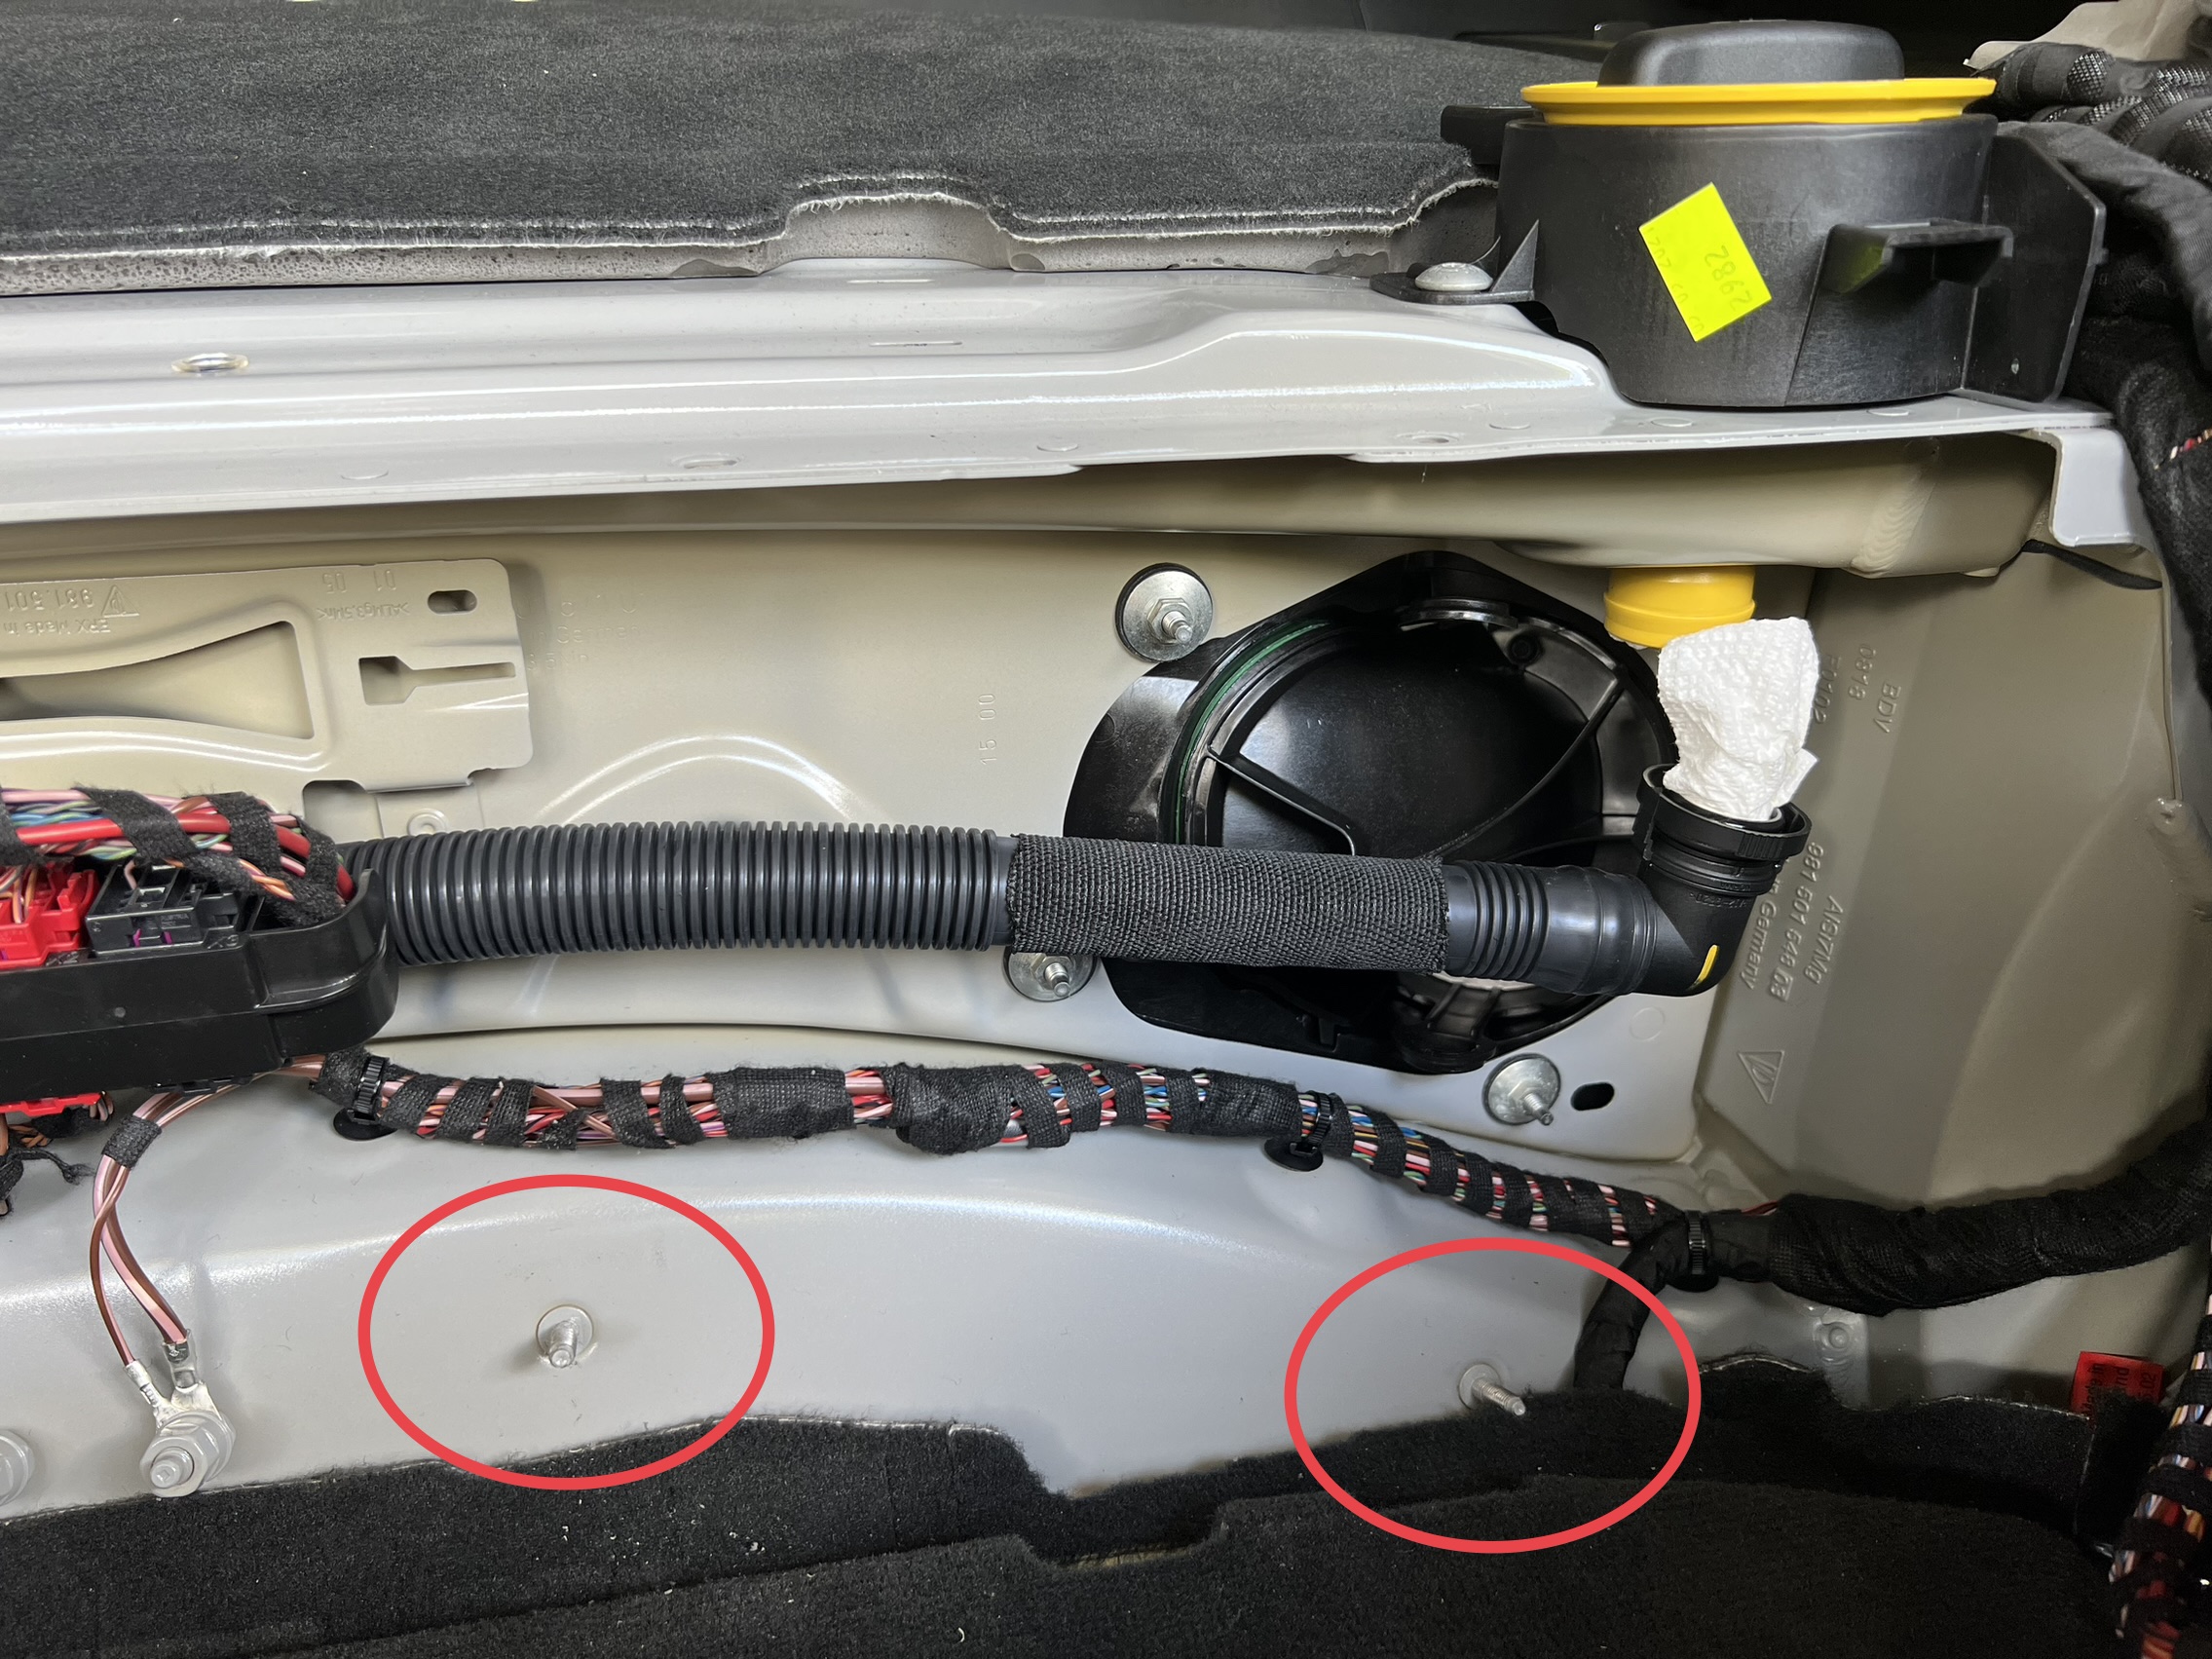
Oil filler detached and plugged with paper towels.
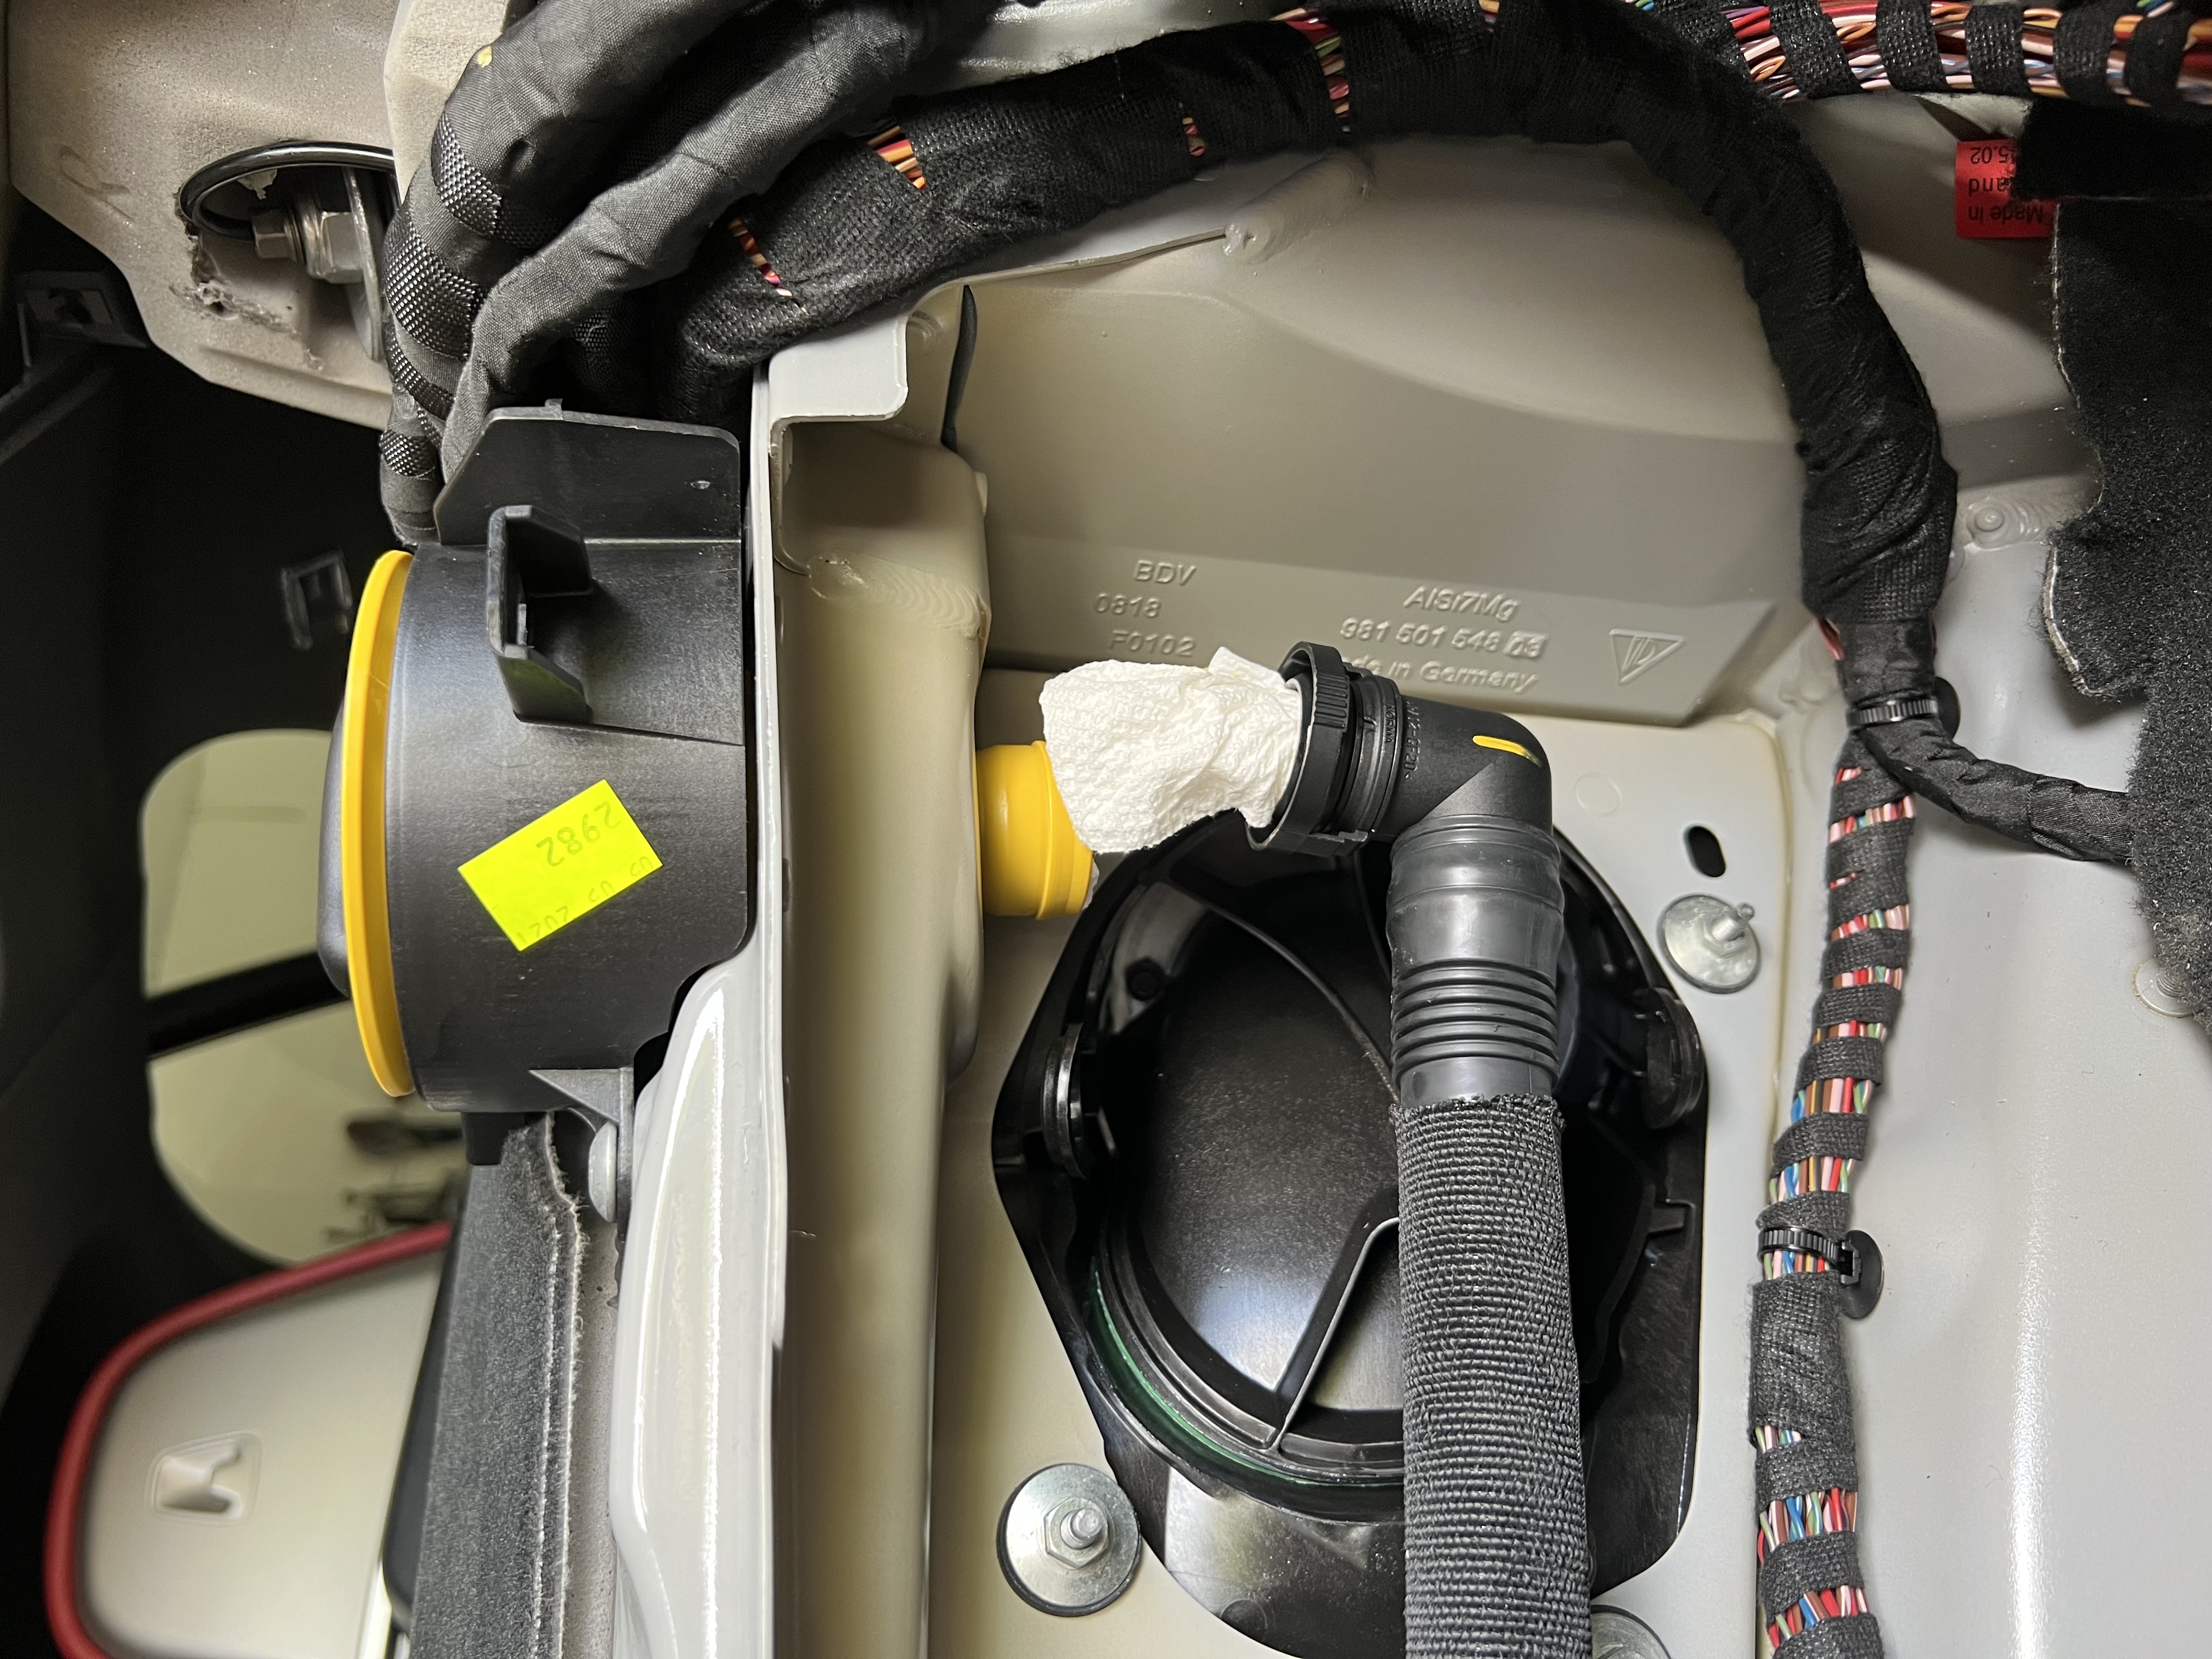
- IMG_2122.jpeg (2.94 MiB) Viewed 1621 times
After removing the filters you can see things were quite dirty after 20,000 miles.
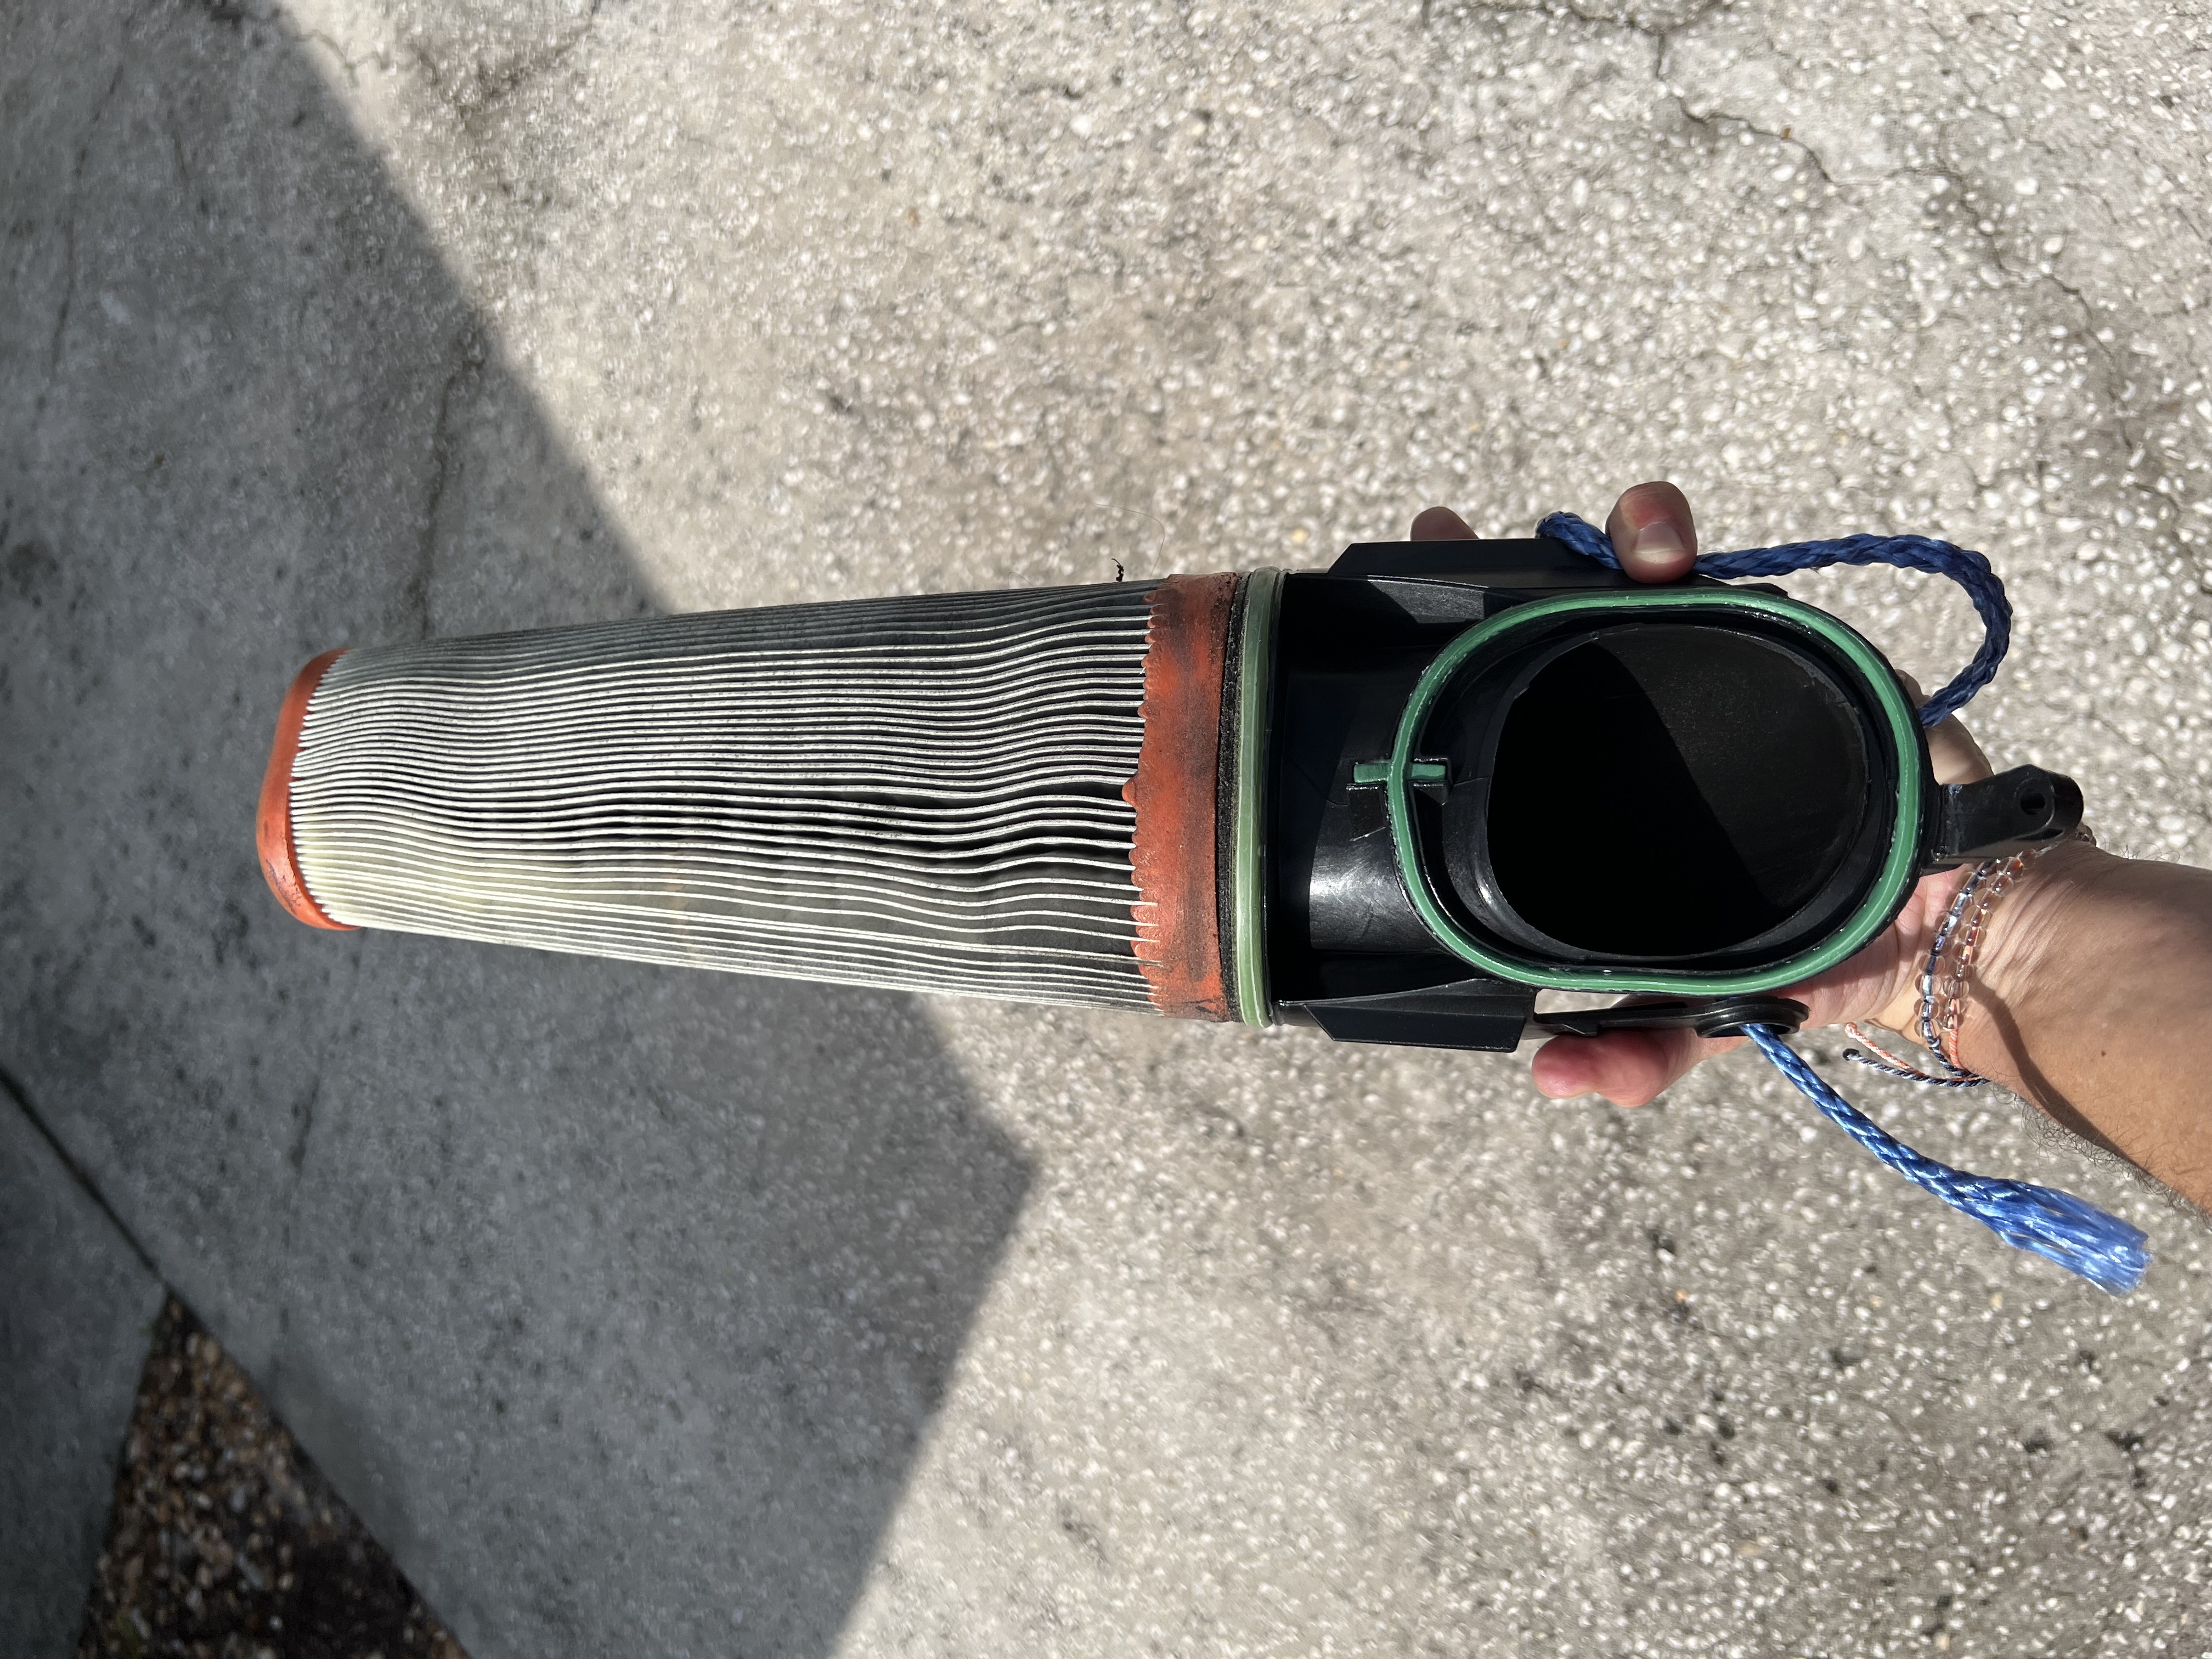
- IMG_2123.jpeg (3.17 MiB) Viewed 1621 times

- IMG_2124.jpeg (2.48 MiB) Viewed 1621 times
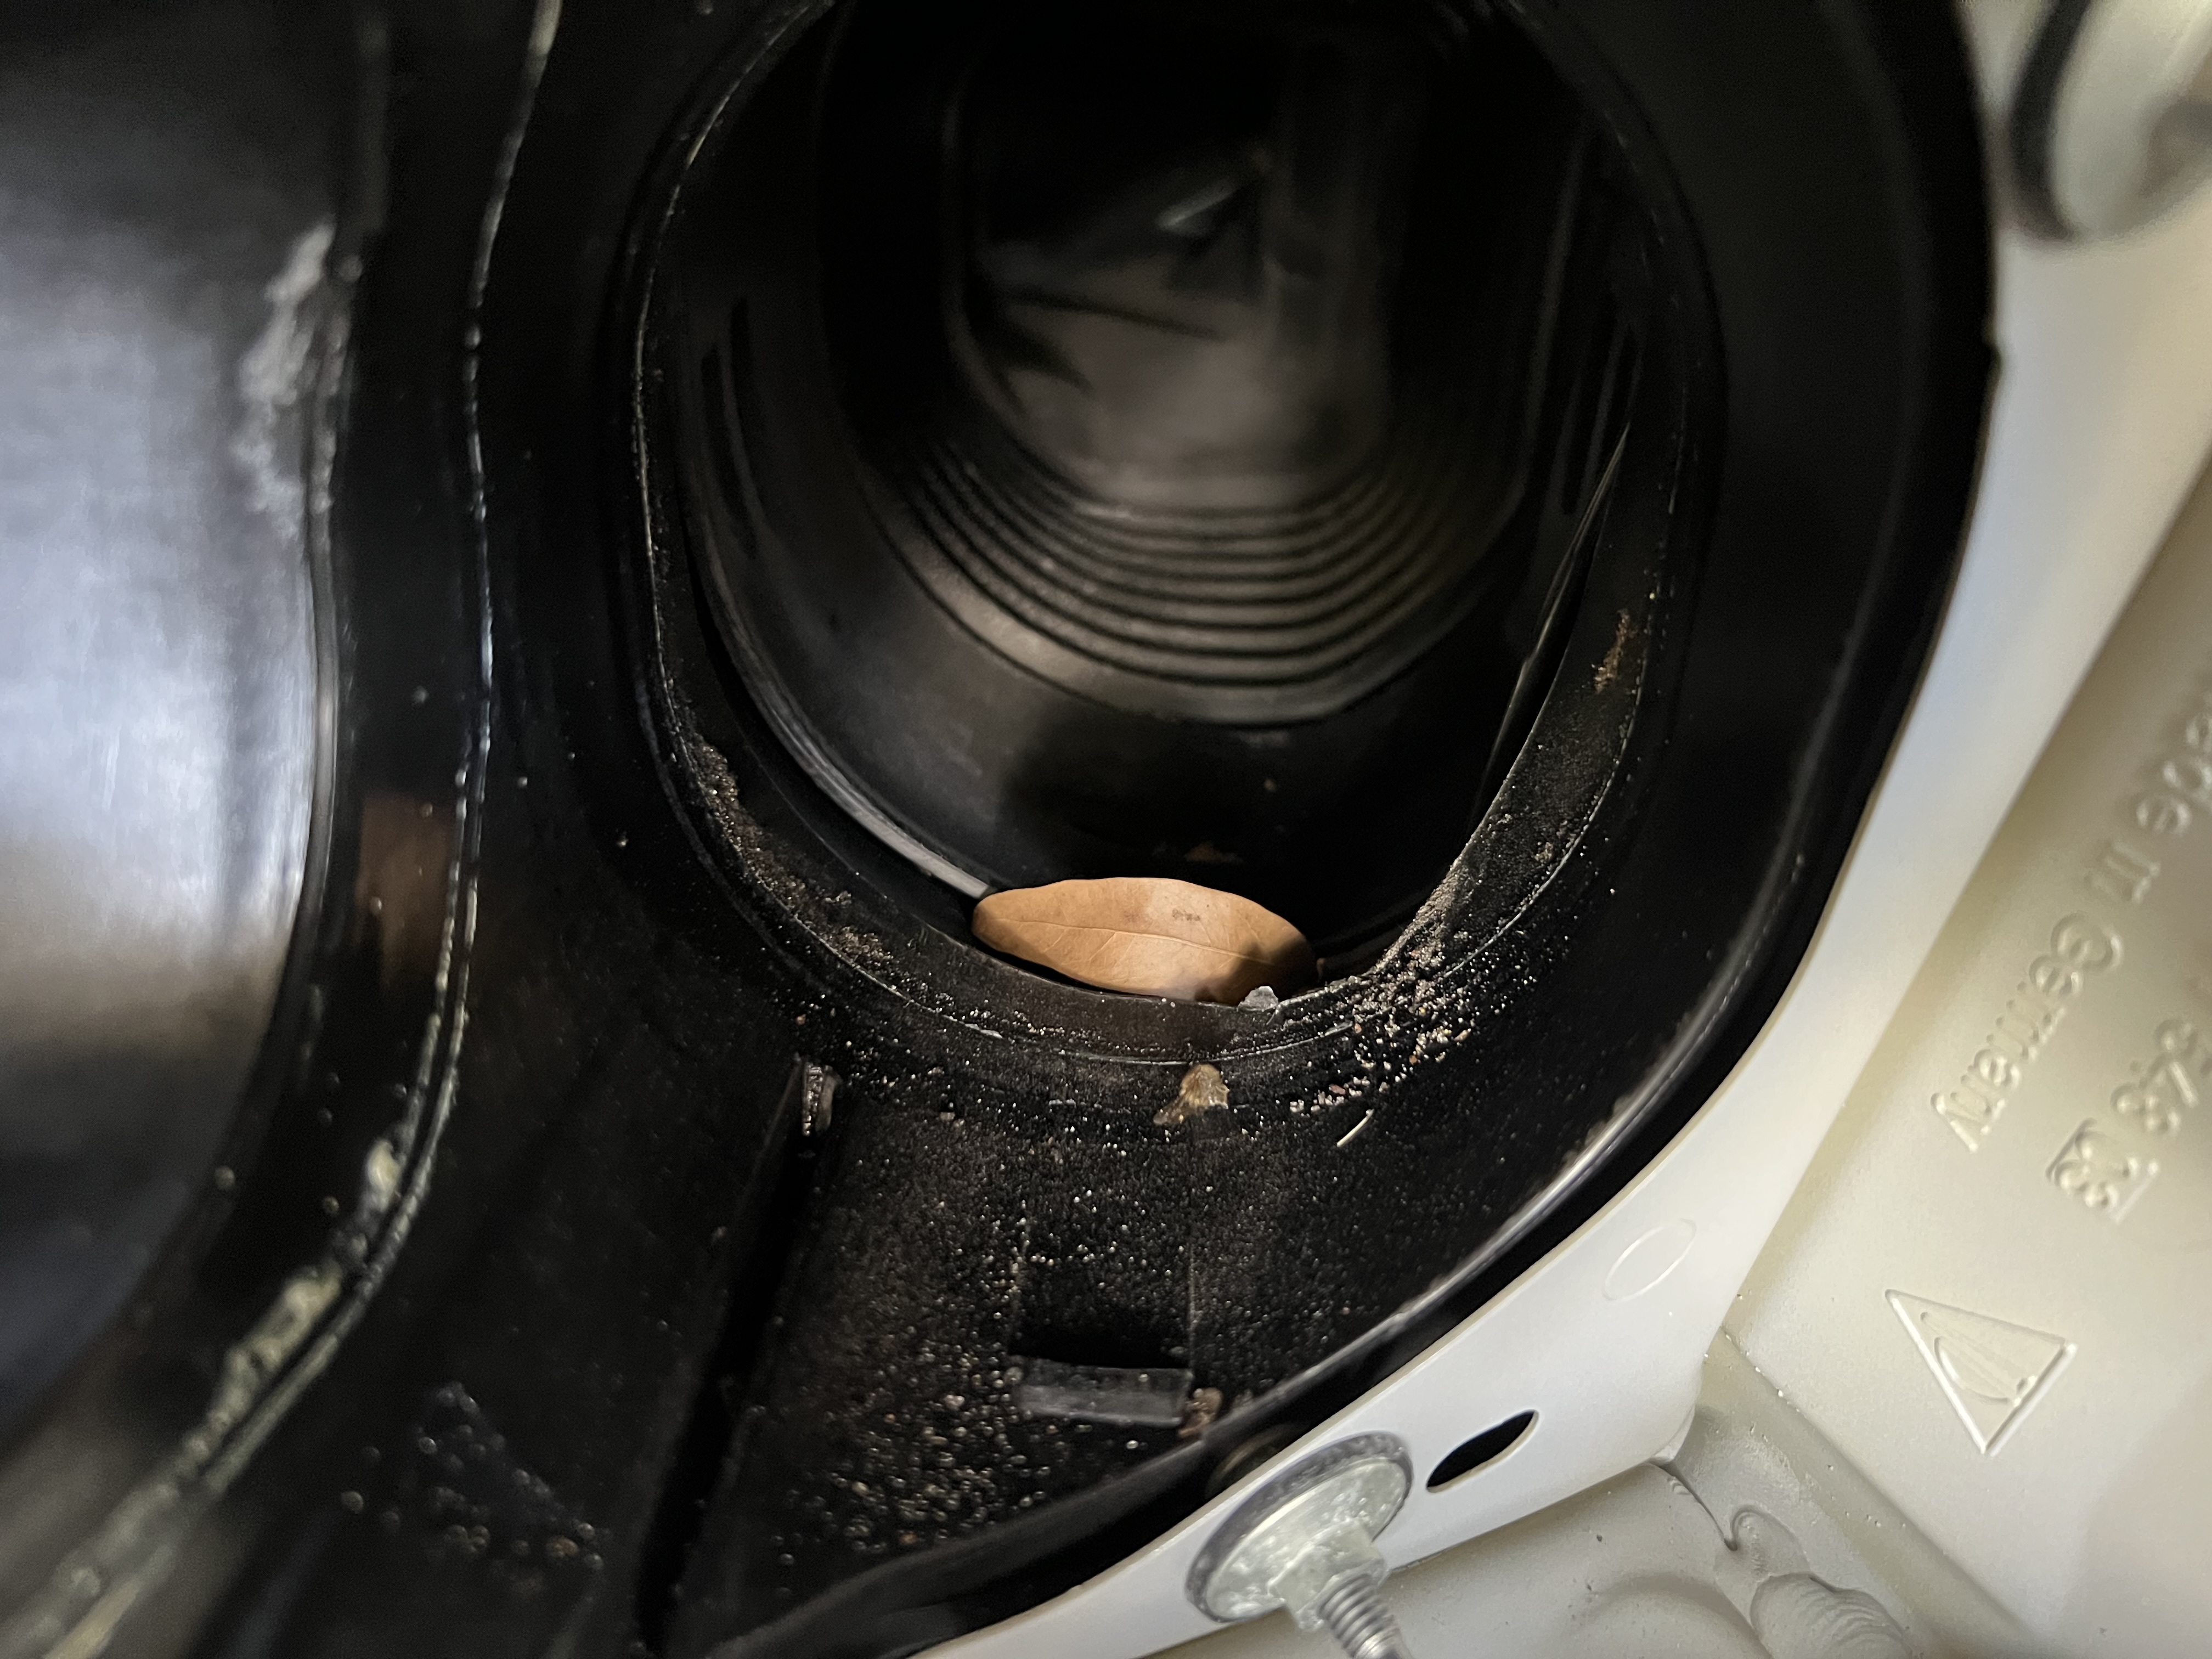
- IMG_2129.jpeg (2.07 MiB) Viewed 1621 times
One of the new BMCs mounted.
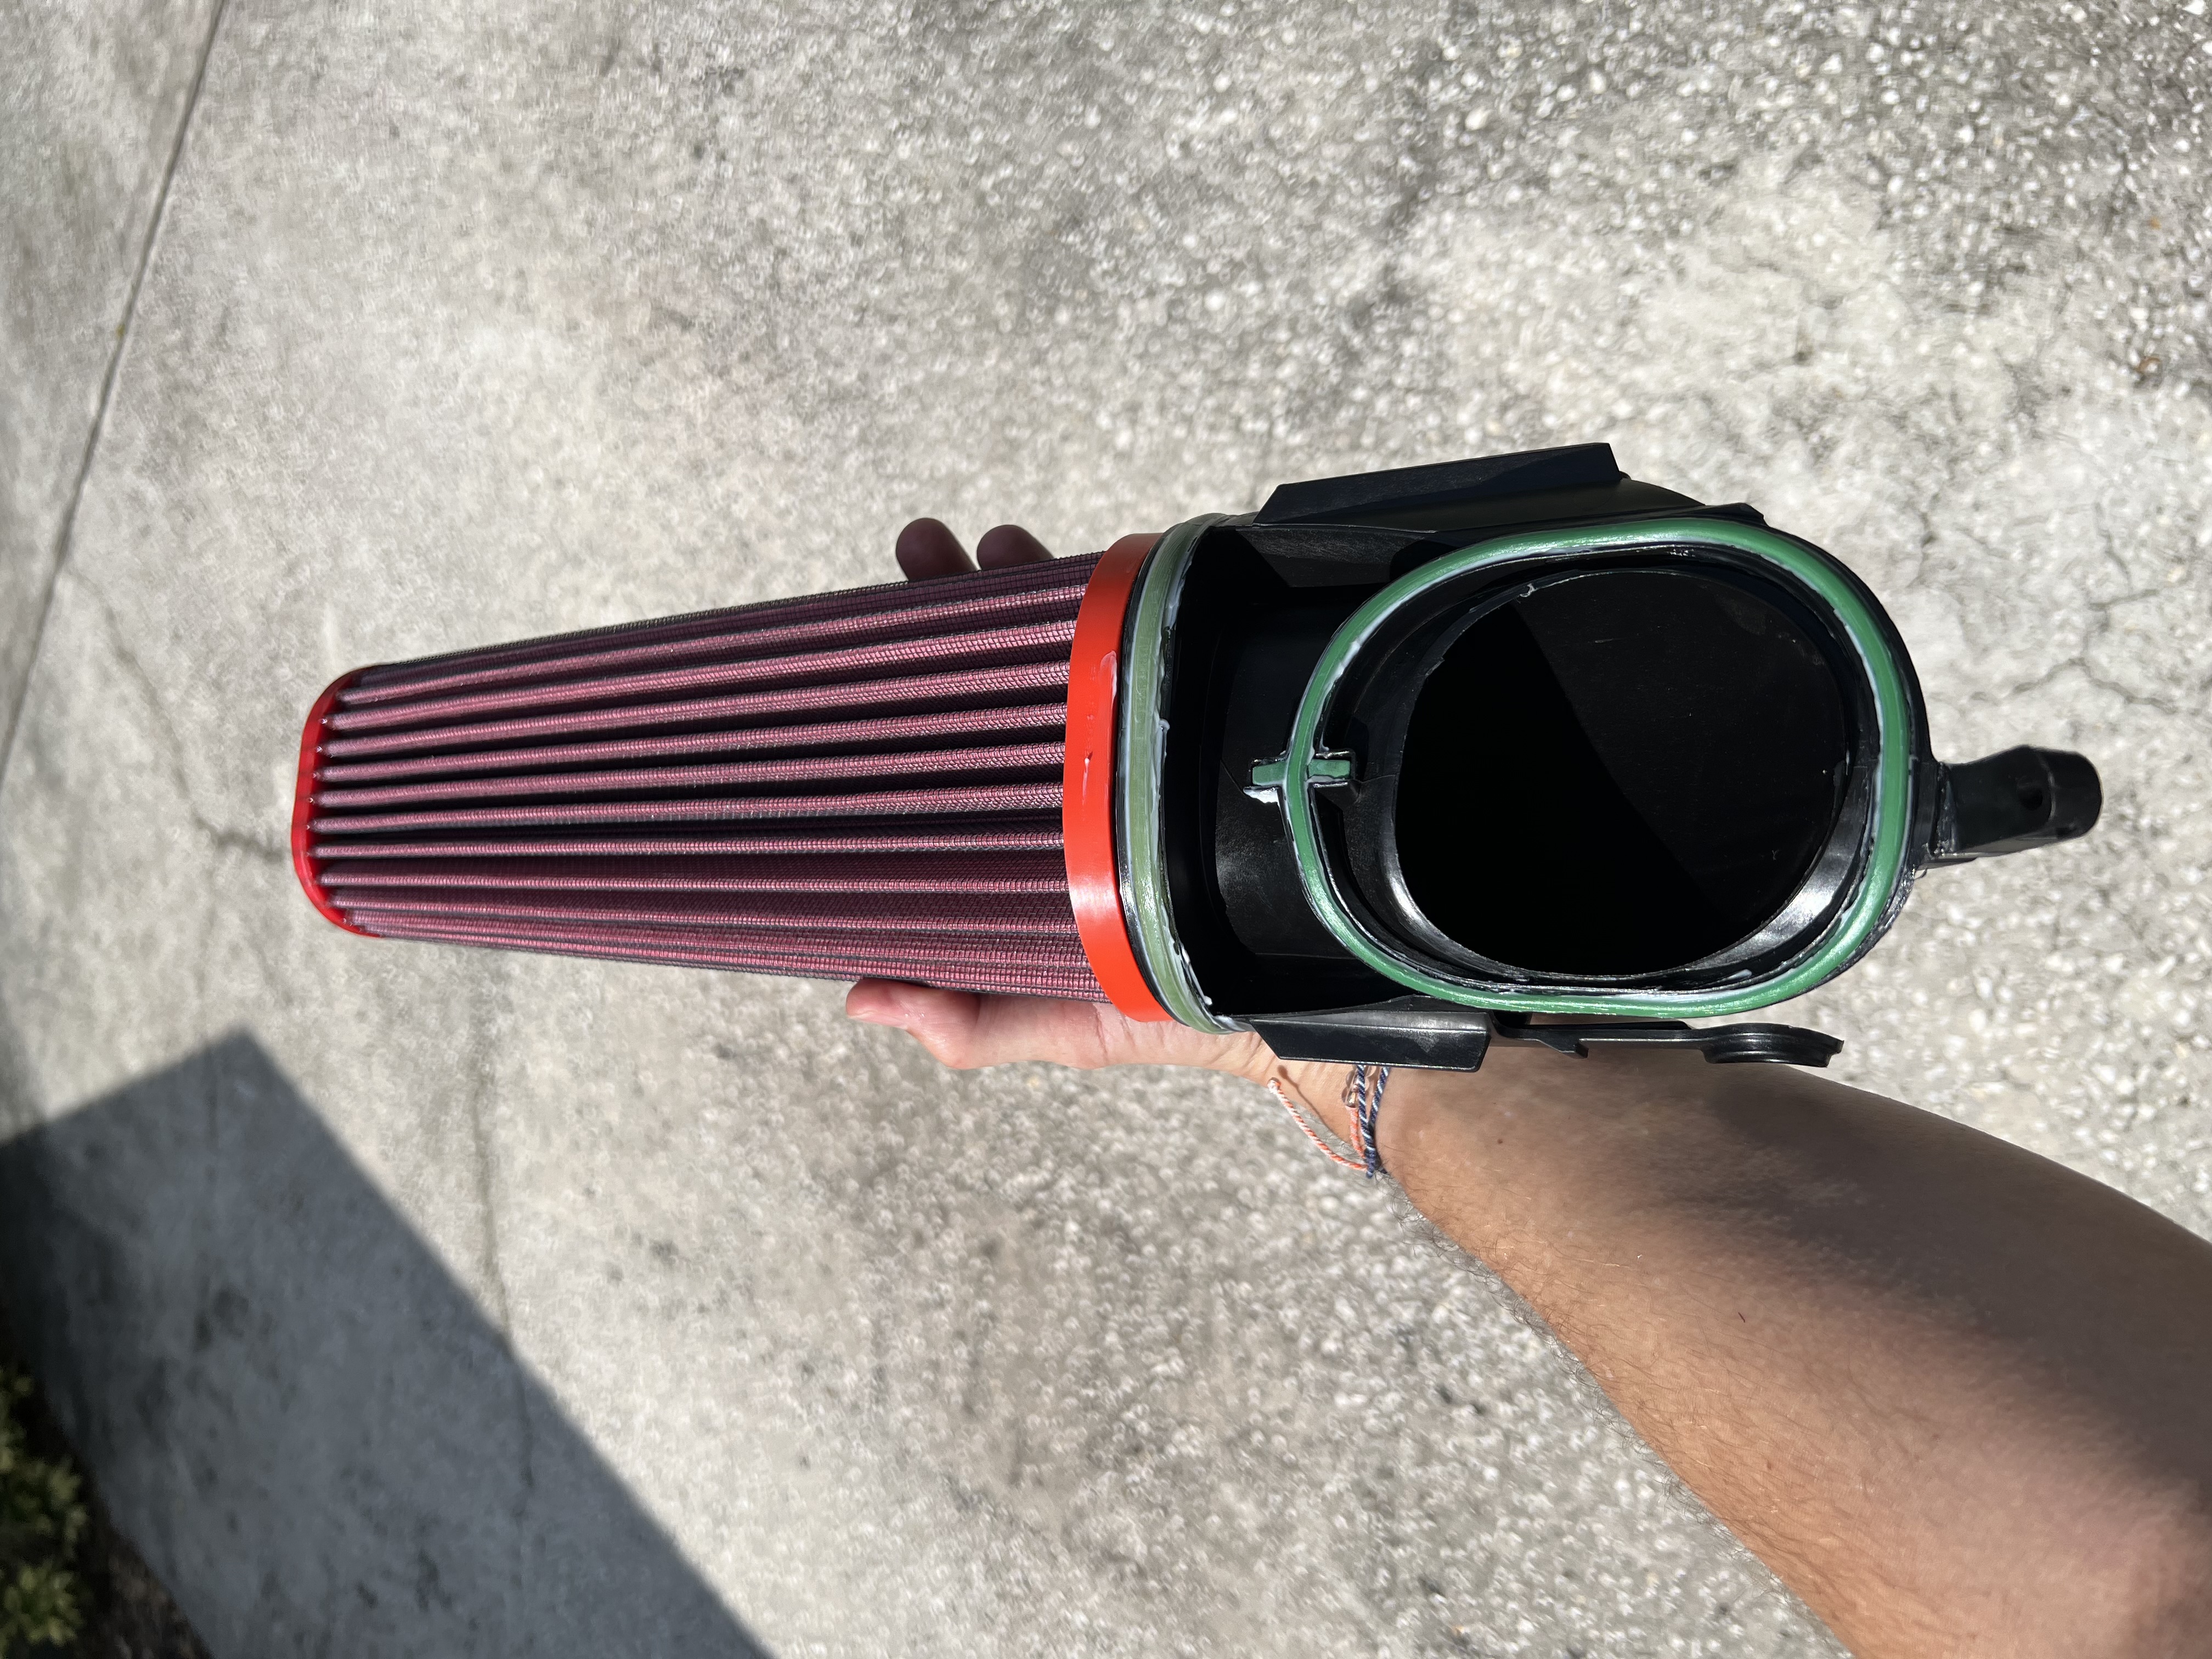
- IMG_2127.jpeg (3.21 MiB) Viewed 1621 times
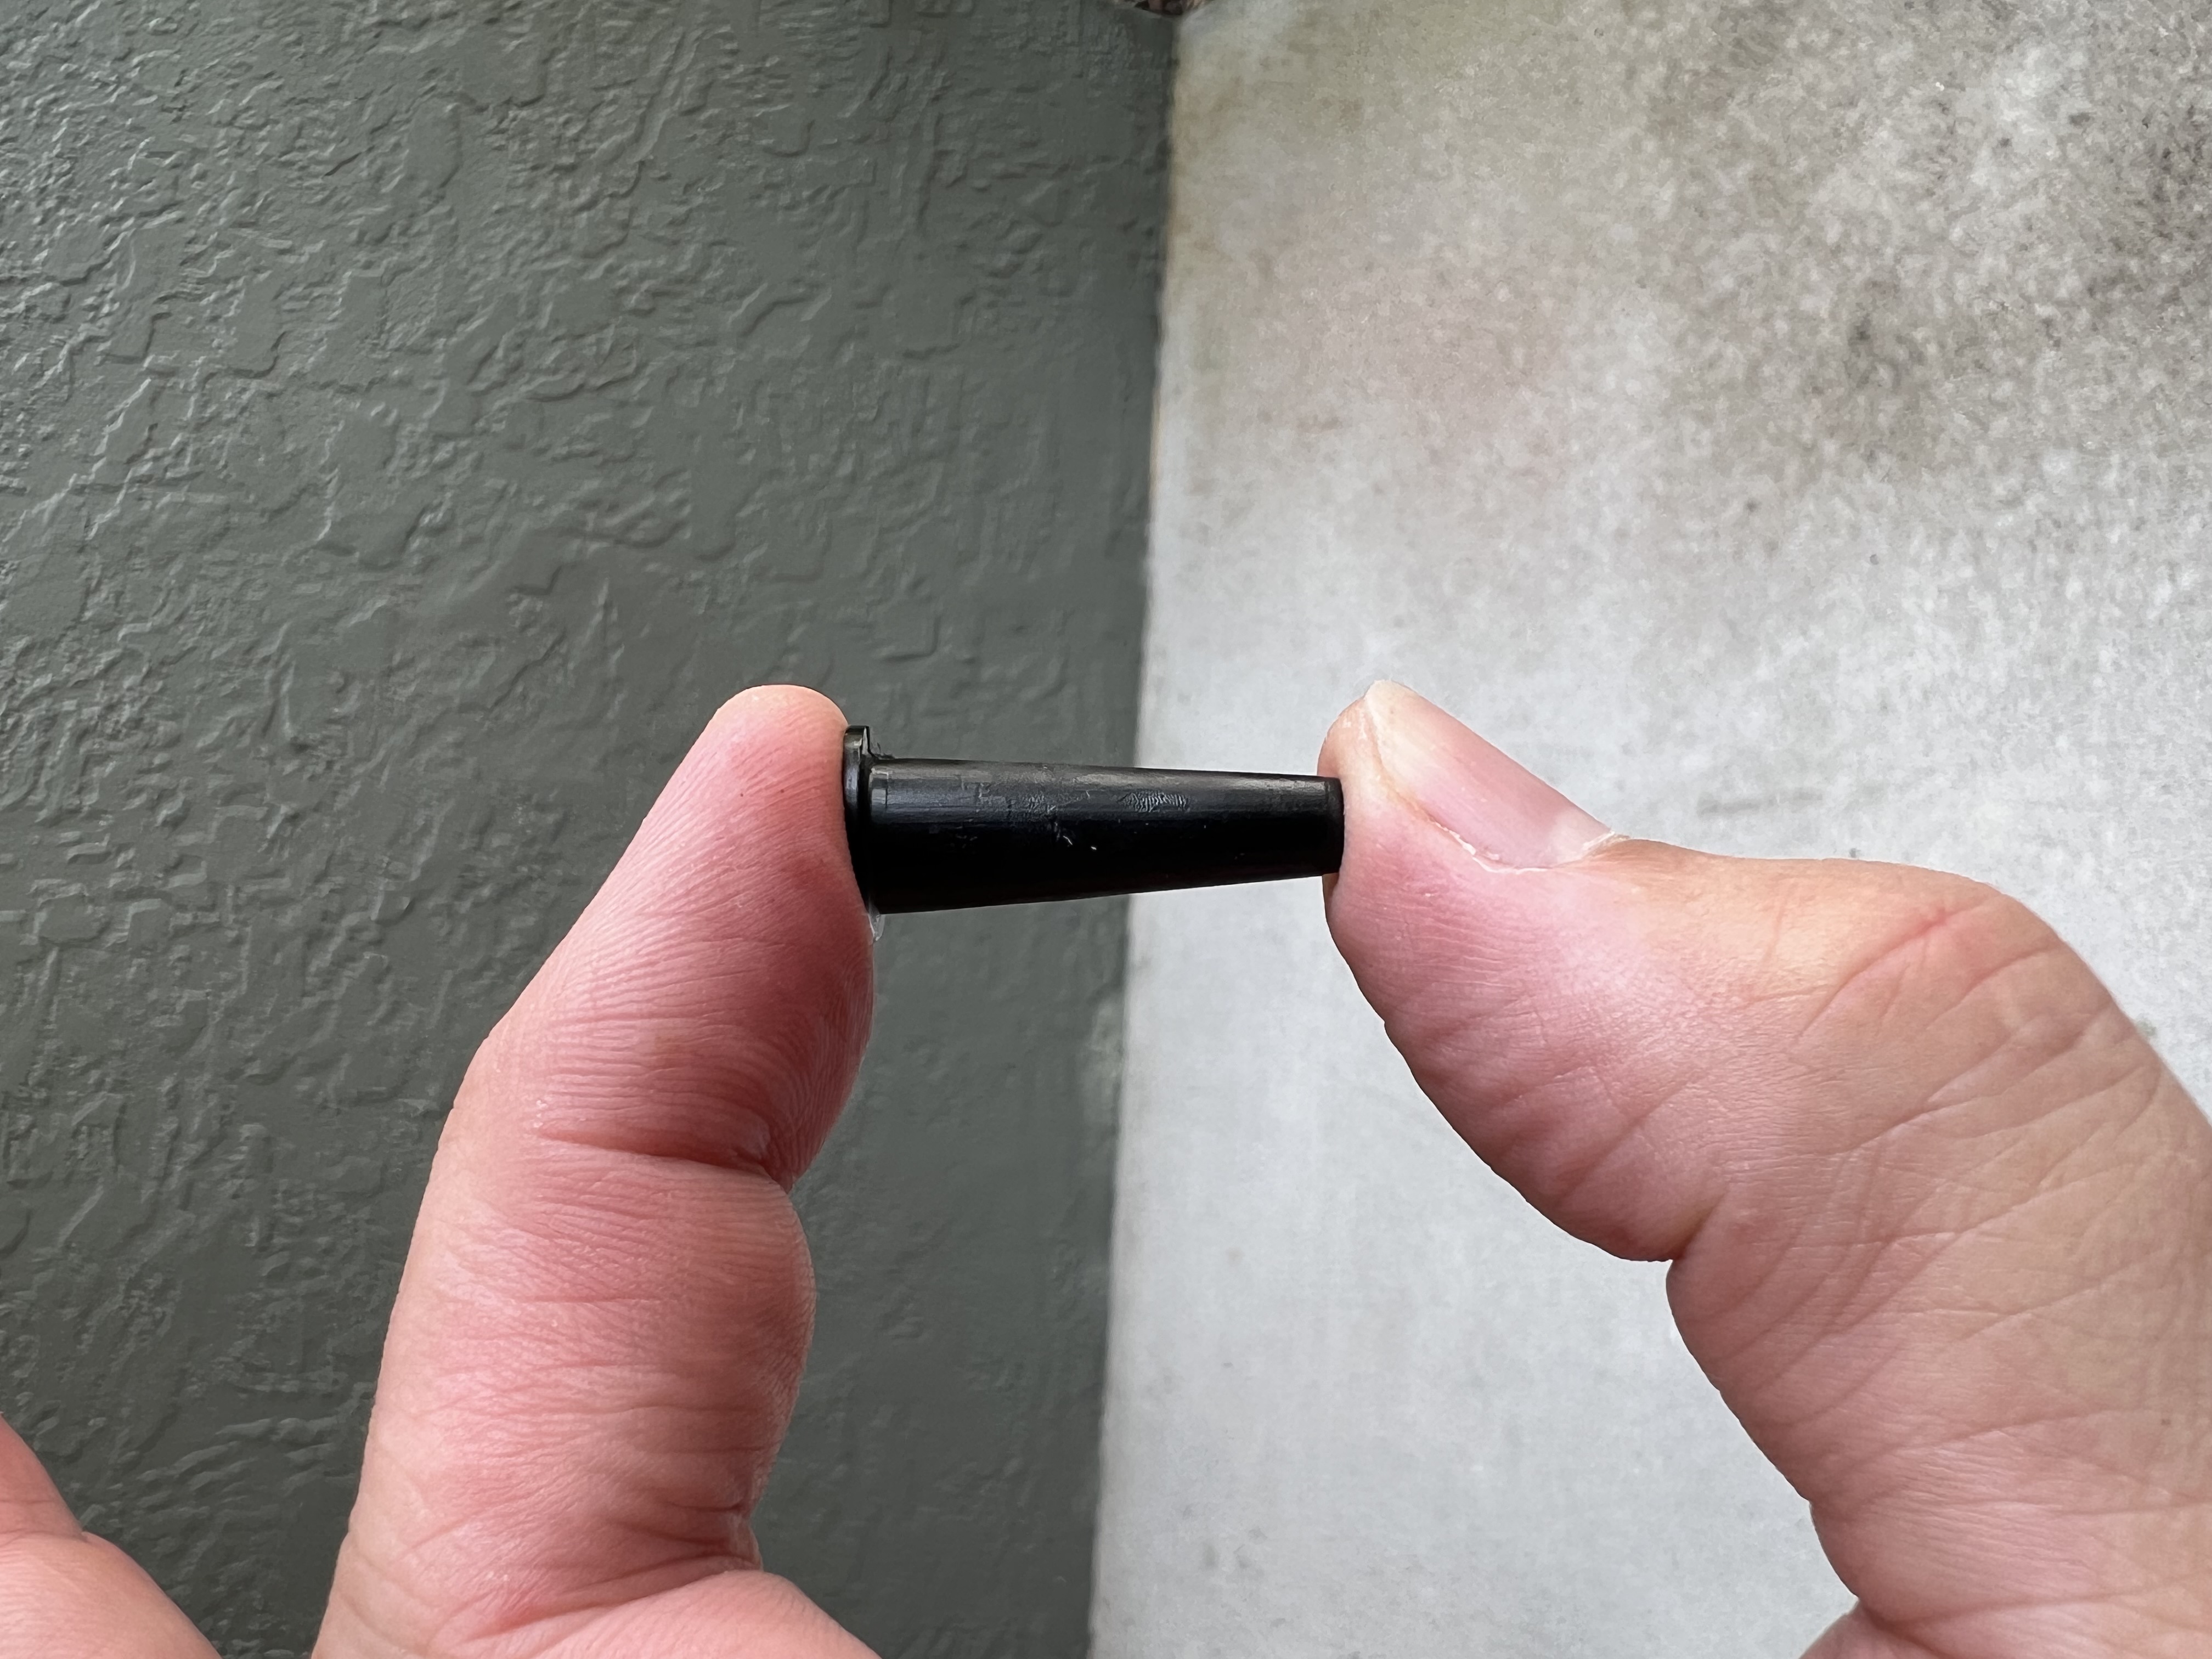
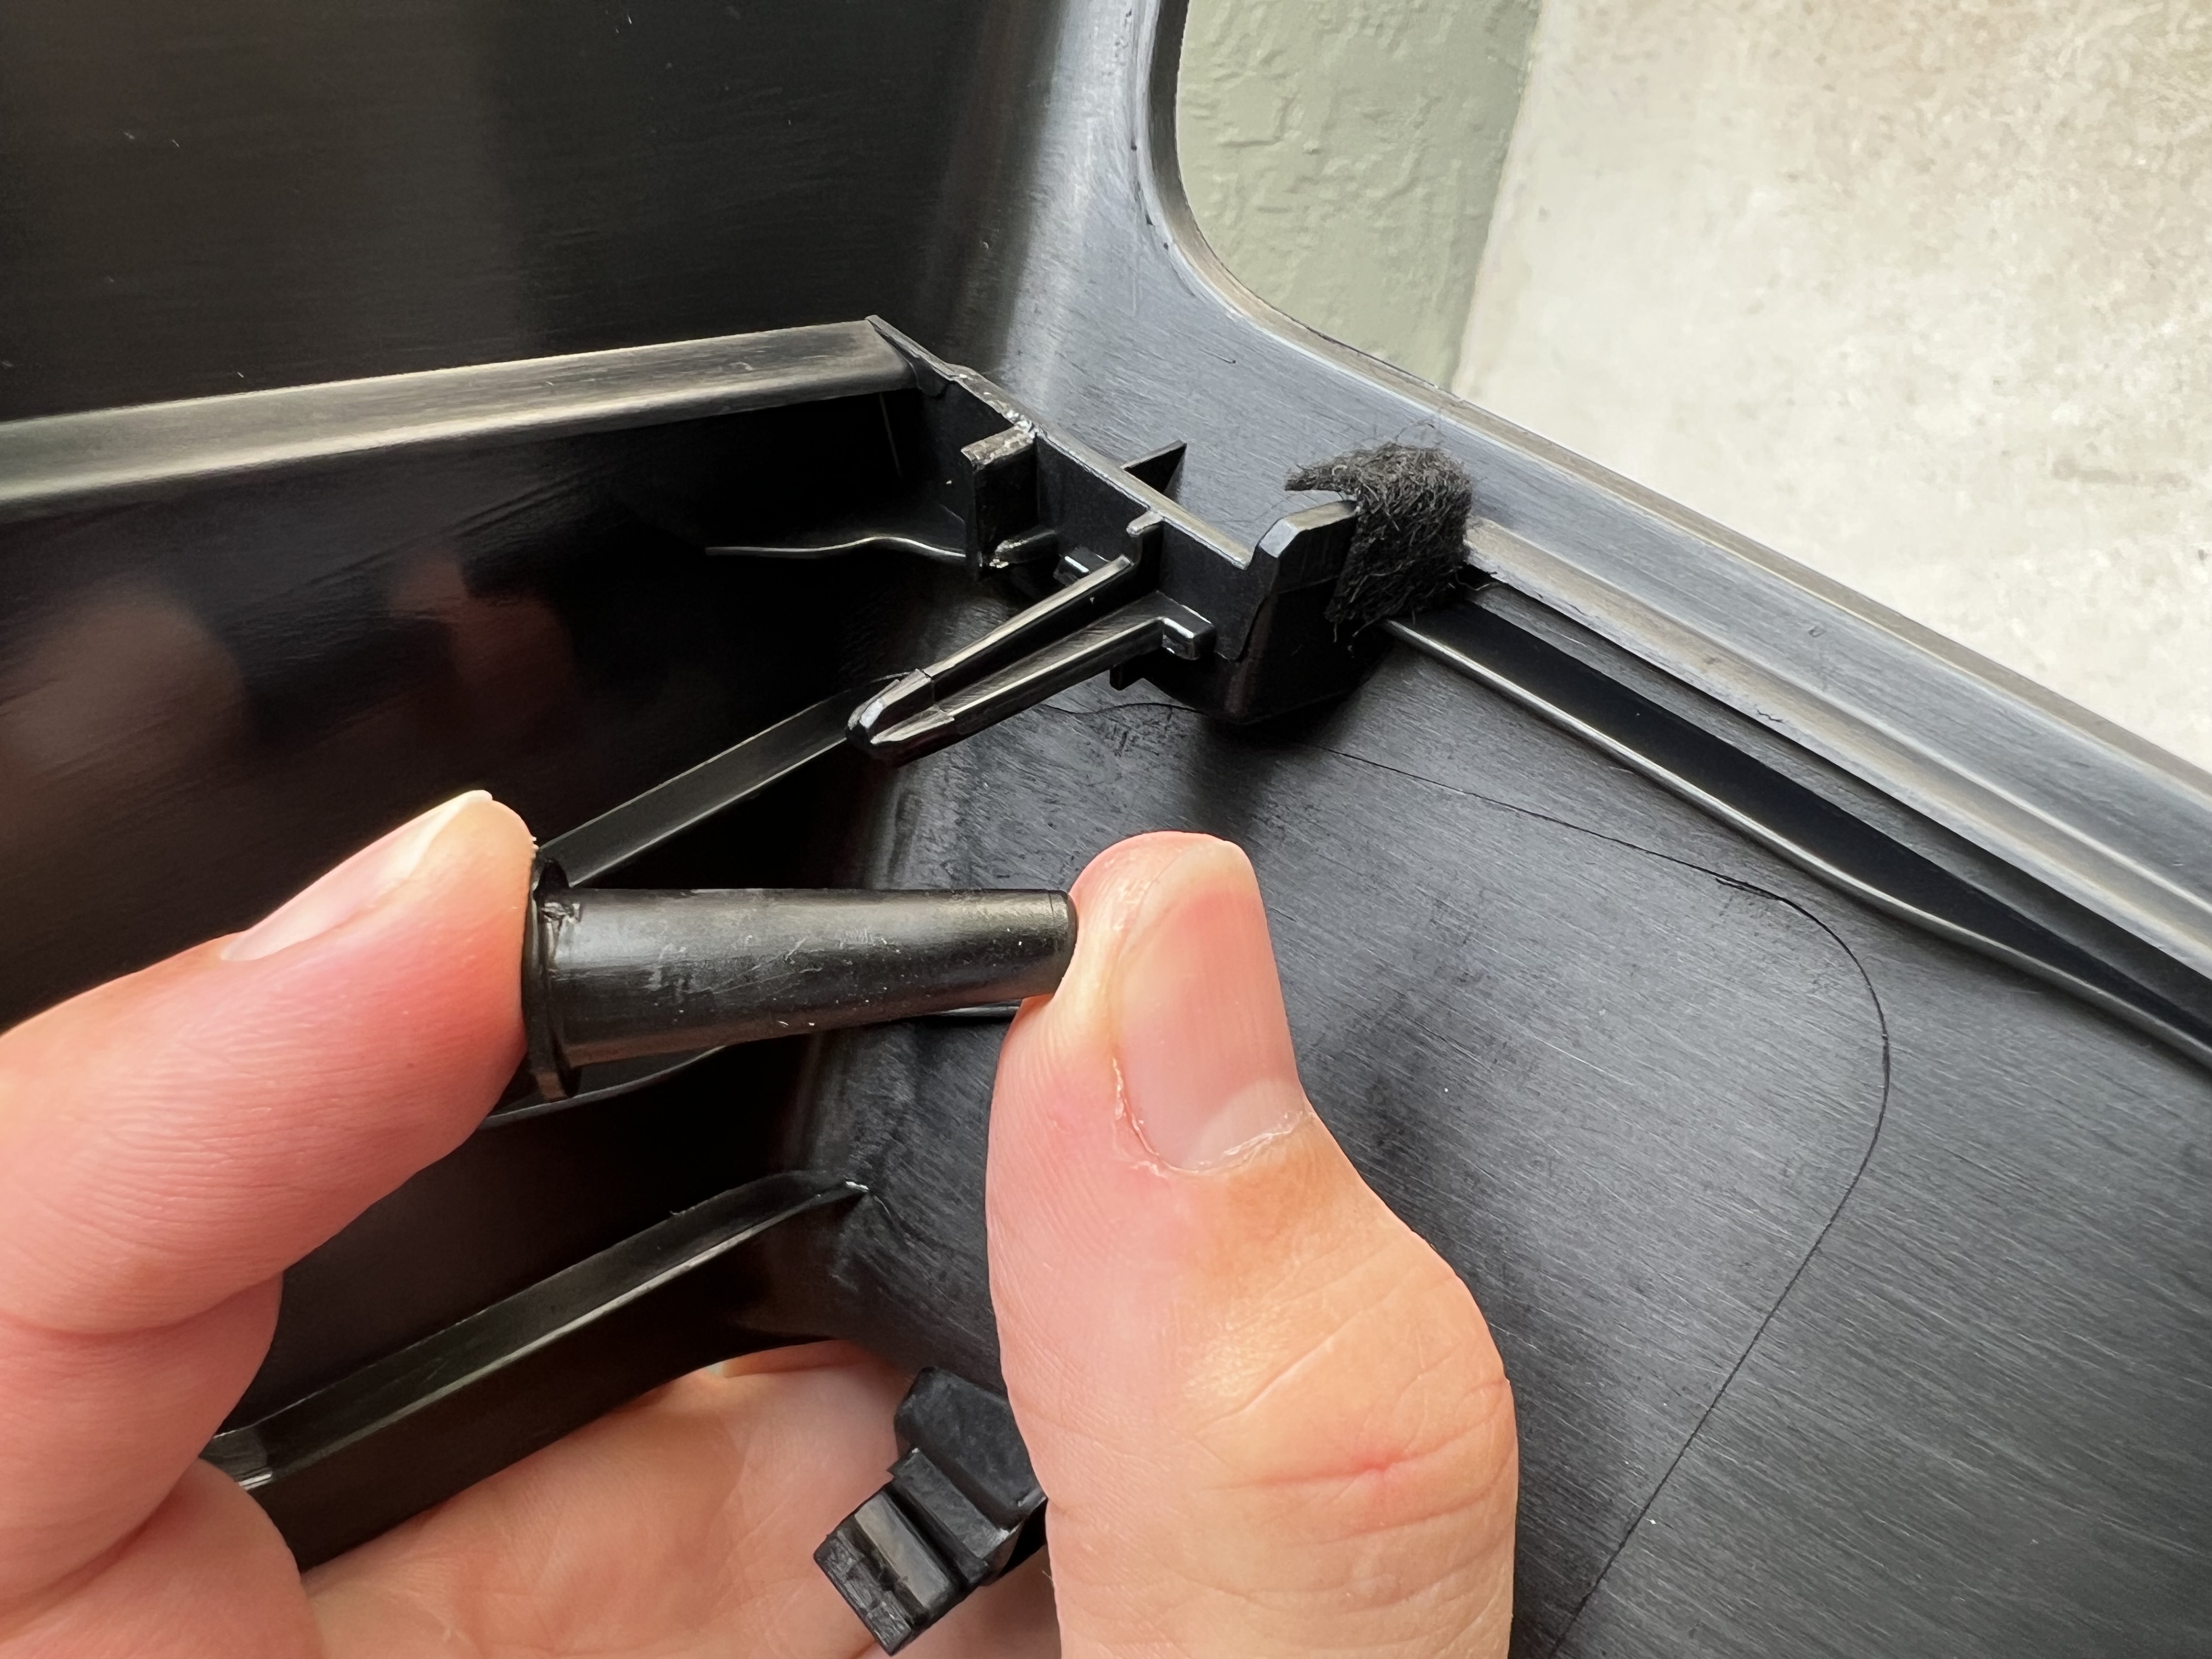
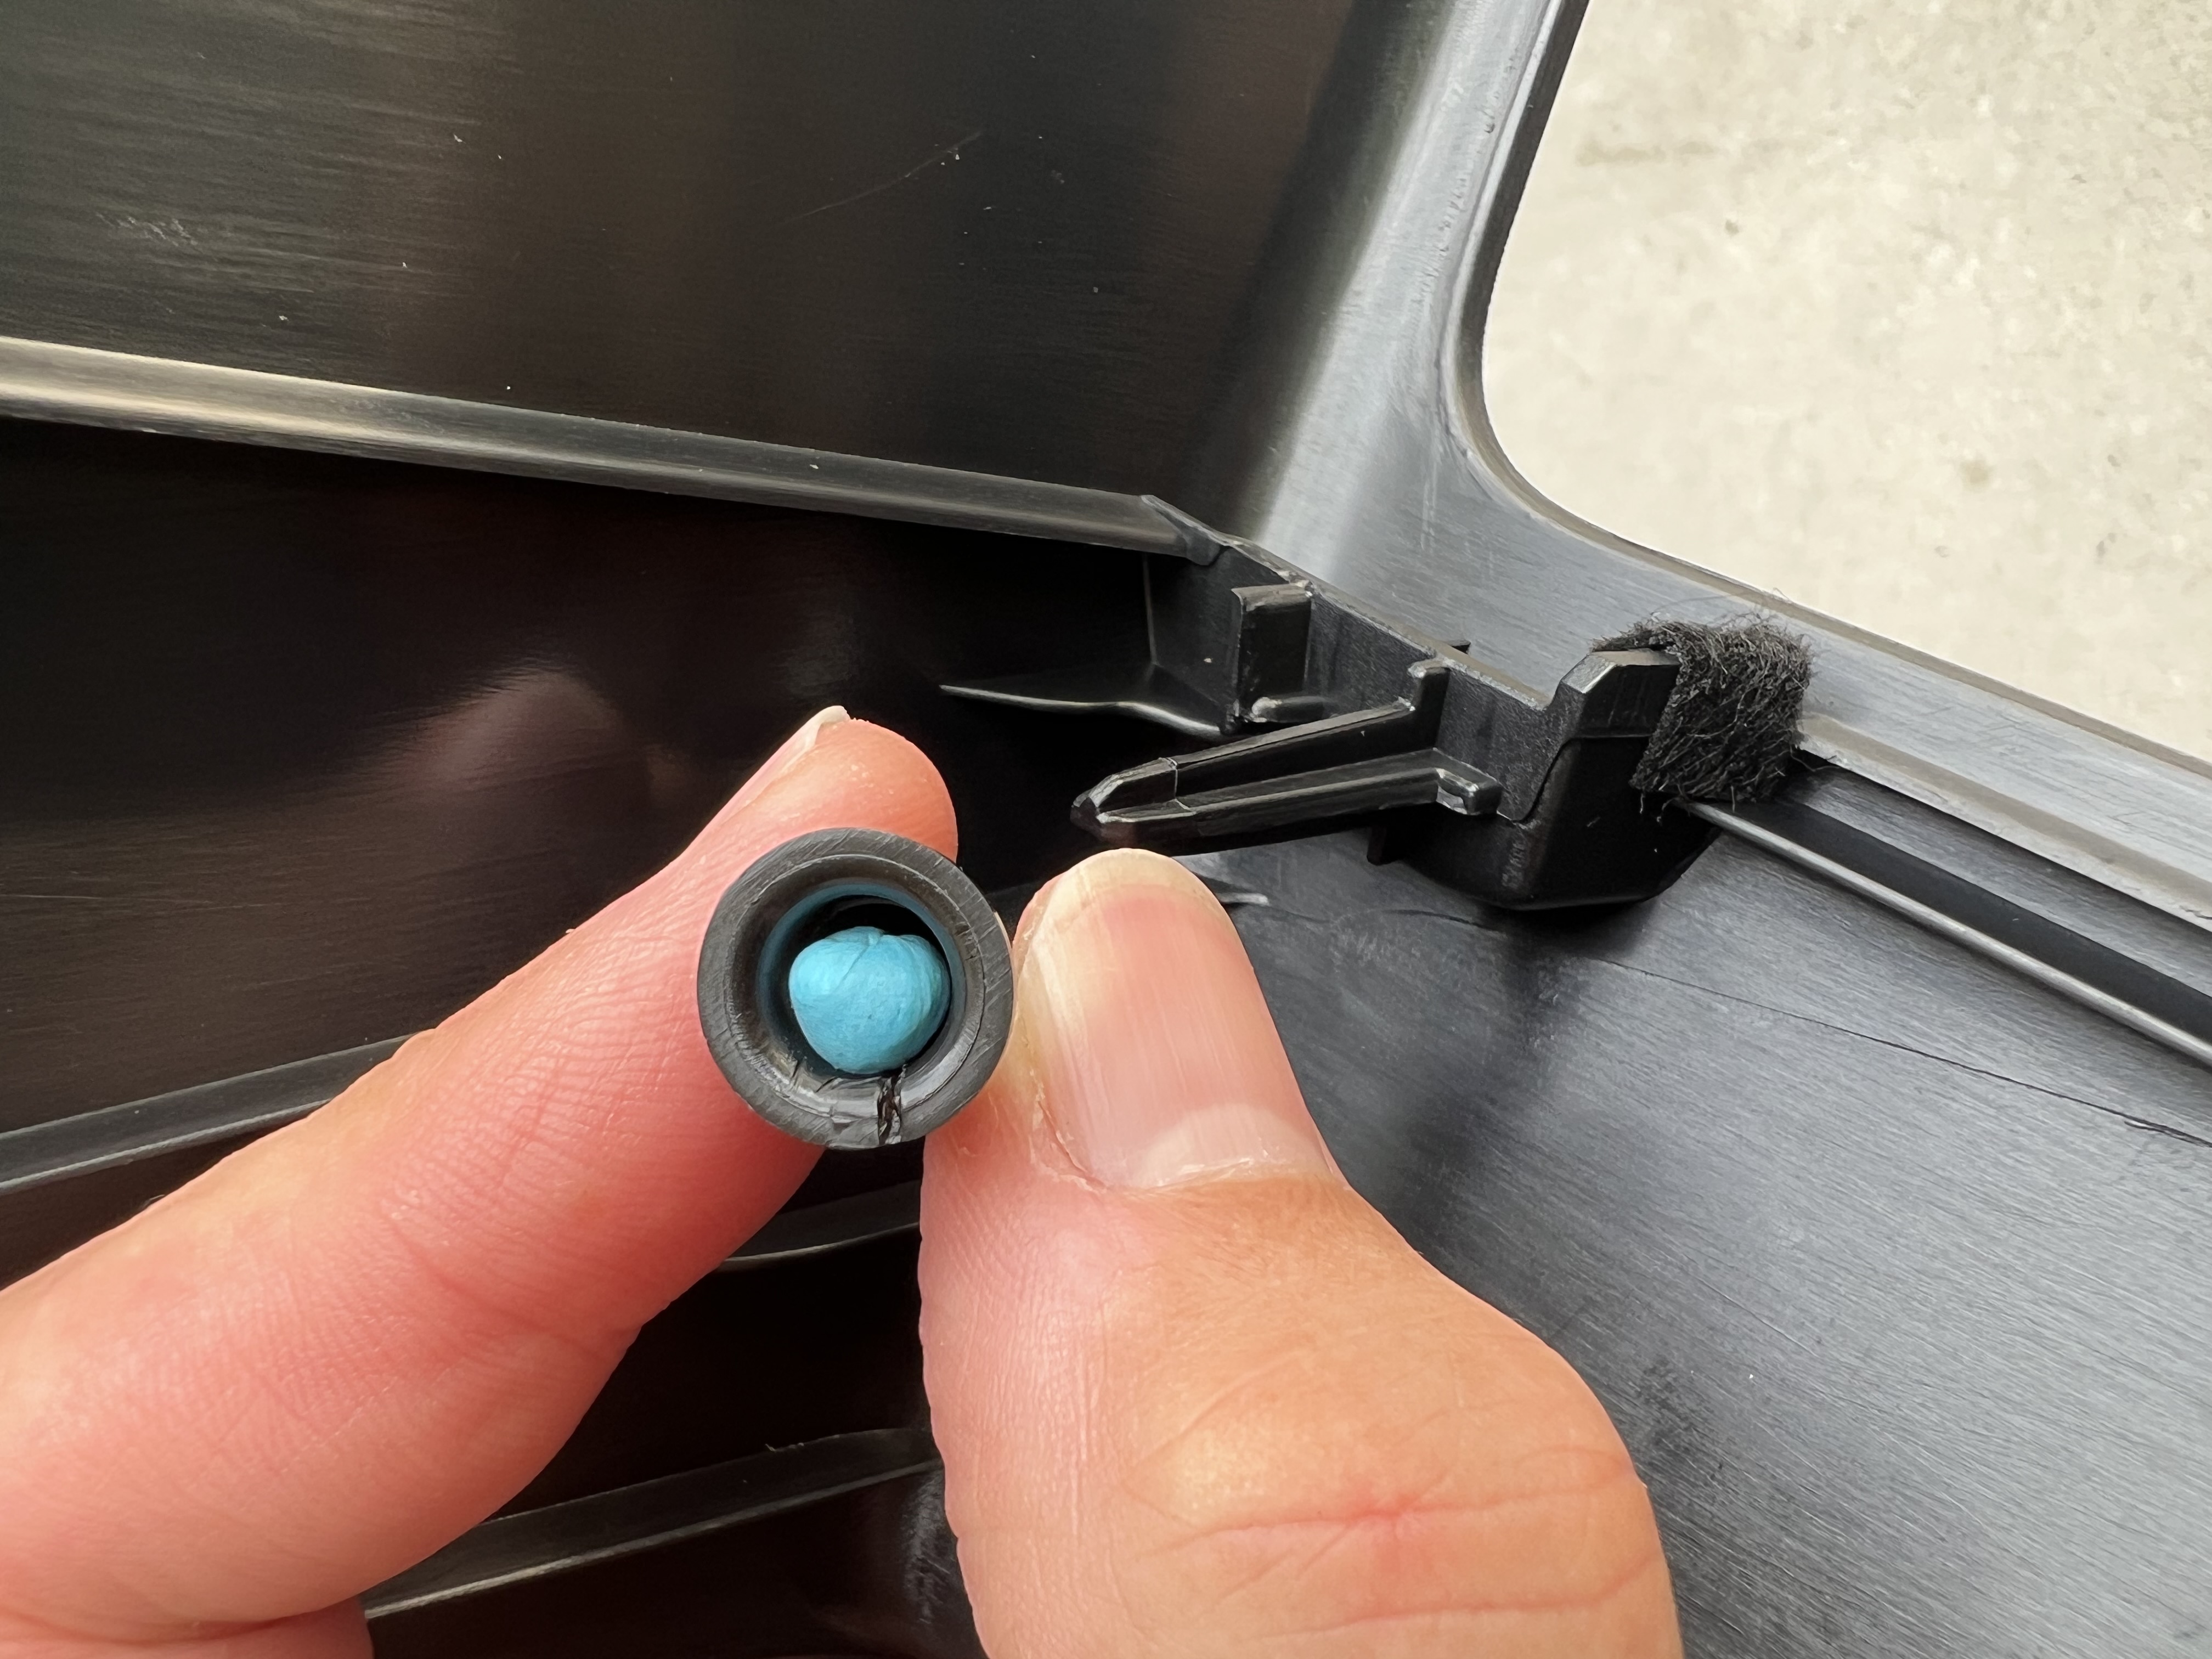
Now for the biggest tip. All the guide posts for the trim pieces have these silly cones that fit very loosely and are easily lost - dumb design. If you try to put the panels back on with the cones in place on the panels, or in their respective holes, you’re sure to lose one or more. I placed a tiny piece of blue poster-tack in each cone and jammed it on the post to keep it in place - no problems!
- IMG_2133.jpeg (1.76 MiB) Viewed 1621 times
Uh oh - too many photos. See the next post for the final photos.
Re: UPDATE: air filters replaced, tips and photos within
Posted: Thu Aug 03, 2023 11:02 am
by FLCAYMAN
A cone shown next to its post followed by the cone with some poster-tack.
- IMG_2134.jpeg (1.85 MiB) Viewed 1620 times
- IMG_2135.jpeg (1.71 MiB) Viewed 1620 times
Re: UPDATE: air filters replaced, tips and photos within
Posted: Thu Aug 03, 2023 1:46 pm
by J-Dub
Nice work documenting the process and tip on the blue stuff. Would anyone have the part number for the cones so I can order some spares?
Re: UPDATE: air filters replaced, tips and photos within
Posted: Thu Aug 03, 2023 1:52 pm
by FLCAYMAN
J-Dub wrote: Thu Aug 03, 2023 1:46 pm
Nice work documenting the process and tip on the blue stuff. Would anyone have the part number for the cones so I can order some spares?
According to the video I used as a tutorial it’s 955-555-278-00
EDIT: a quick Google seems to indicate that part number is not correct. I’ll update if I find it.
Re: UPDATE: air filters replaced, tips and photos within
Posted: Thu Aug 03, 2023 1:54 pm
by J-Dub
Right, Saw that one. When I google that part number I get the metal clips that are used to hold down the trim panel that covers the oil and water fill.
Re: UPDATE: air filters replaced, tips and photos within
Posted: Thu Aug 03, 2023 1:55 pm
by J-Dub
I also wanted to add that my filters looked exactly as dirty with 11k miles on them.
Re: UPDATE: air filters replaced, tips and photos within
Posted: Thu Aug 03, 2023 2:42 pm
by blueline
@FLCAYMAN
Thanks for the photos, guide and tips. Nicely done!
Re: UPDATE: air filters replaced, tips and photos within
Posted: Wed Aug 16, 2023 10:33 am
by reiver
Nice job... I do my base Cayman about every 7k due to the dust in Az...it can be very 'fine' and the air scoop couldn't be in a worse place to pick up wheel generated dust.
I can't/won't use an oiled filter as I've found they let fine particulate matter thru that the paper filter stops. I had that issue on my hot rod as a K&N let so much thru it boogered up my idle circuit on a carburetor. Went back to paper and no issues.
In a non dusty area should be no issue tho.
Re: UPDATE: air filters replaced, tips and photos within
Posted: Thu Oct 12, 2023 6:24 pm
by J-Dub
I wanted to add that those cones,Body C-Pillar Trim Panel Grommet, bungs, are part number PAF-008-713.
Re: UPDATE: air filters replaced, tips and photos within
Posted: Sun Apr 14, 2024 5:58 pm
by slilley
I did this job today. Watched all the videos, but here are my notes that I jotted down during and after the process:
Get correct gasket grease for next time (Porsche Kluber Syntheso Glep Grease - P/N 000-043-305-01); I used wheel bearing grease first time. Clean reusable parts off well, and apply new grease. Use Shark Werks tool to remove air filters; made it pretty easy. Make sure all cones are found and reinstalled upon each trim piece removal; super easy to lose them! Use power drill to remove and re-install filter on plastic housing; have to apply fairly-hard downward pressure when connecting pieces because the holes in the new filter are not tapped – screw will self-tap as installed (needs pressure to get started). Peel back the carpet under the ECU to get to the last hidden bolt, which is just to the bottom-right of the ECU by maybe and inch or less. The lip of the forward side pieces need to slide under trim in front of them where the two sliding storage compartments are. To re-install the centerpiece, put it in the lower compartment and slide it up into position.